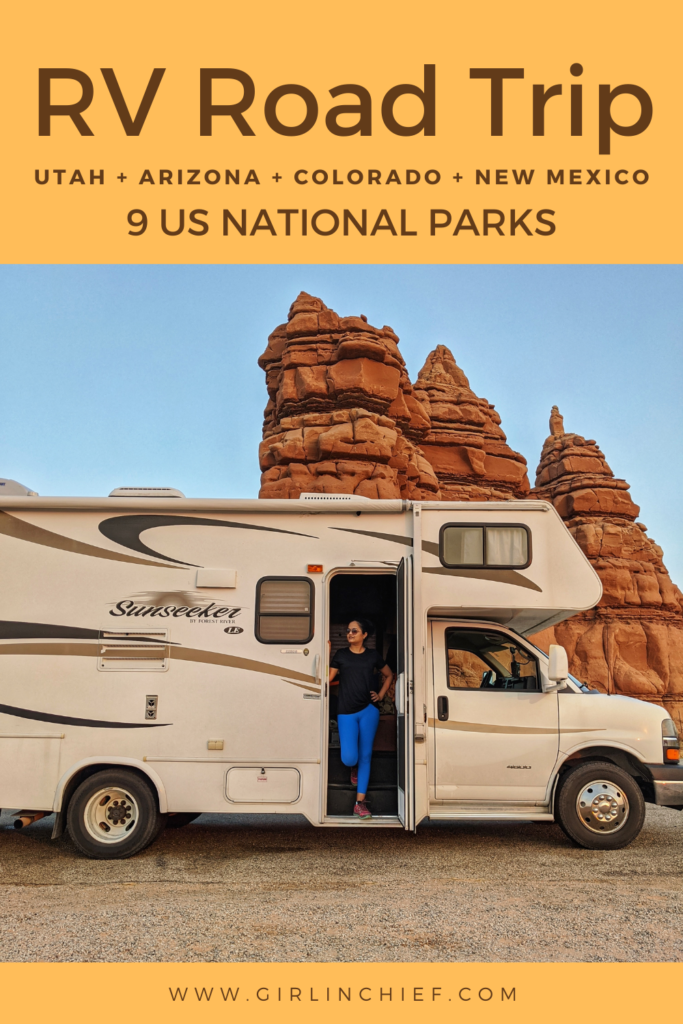
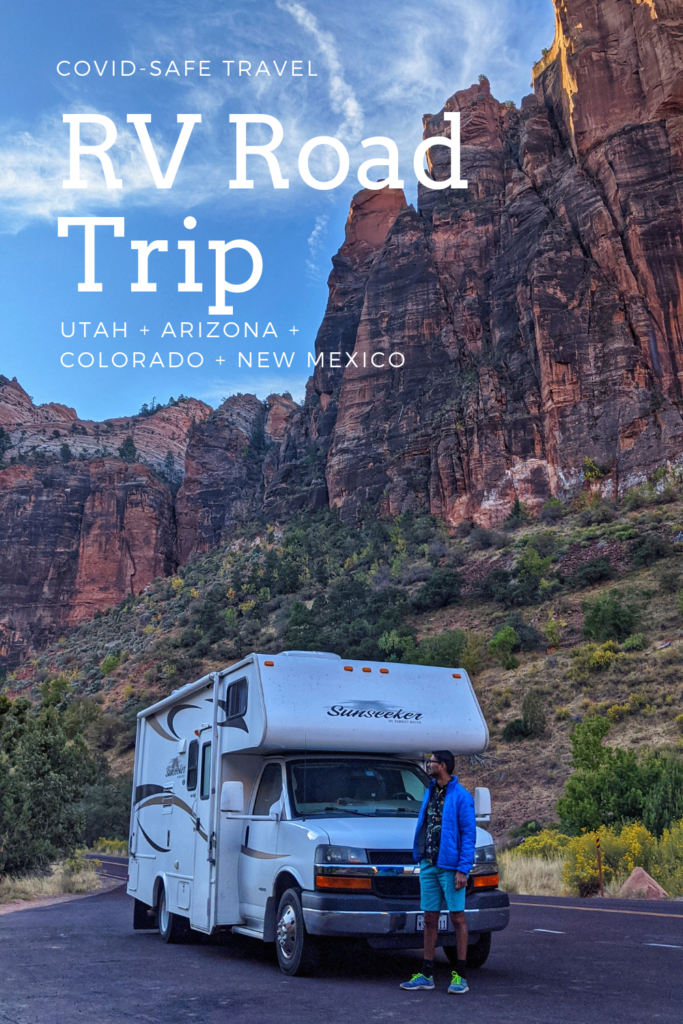
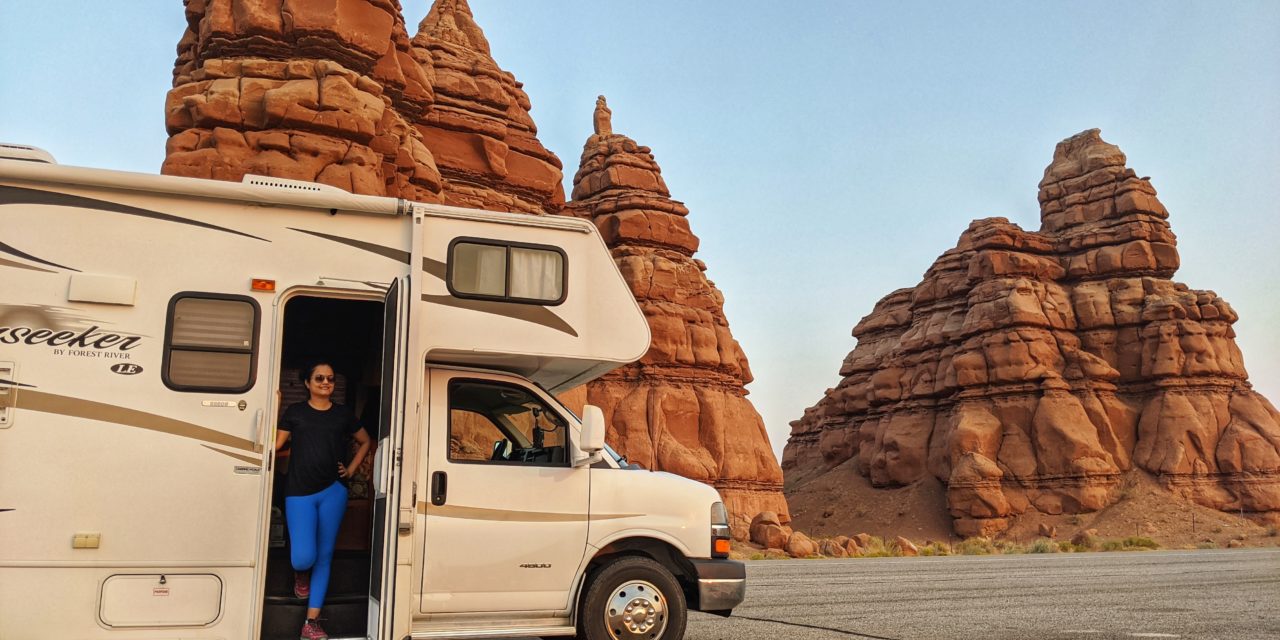
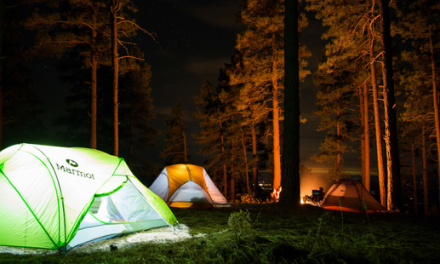
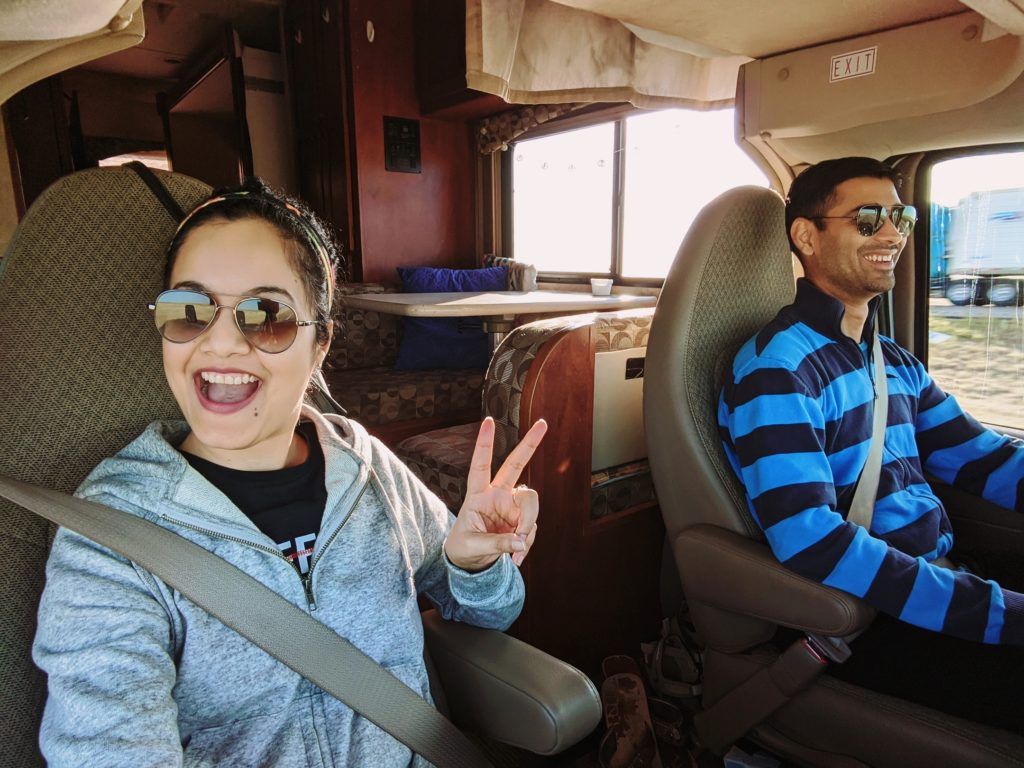
The year 2020 will be etched in all our memories for obvious reasons. For us, it’s also the year V and I went on an epic road trip where we explored nine US national parks across Colorado, Utah, Arizona and New Mexico. This was our first ever RV road trip in the USA and we came back as huge fans of RV travel.
Why We Chose an RV for Our Road Trip
We did our first ever RV/campervan road trip, honeymooning in New Zealand back in 2011. At that point, we had no idea that RV travel or van life as it is popularly known, would become such a big craze that it is now. All these years of living in the US, we kept thinking about RVing across North America but never really got to doing it. Remembering our experience in New Zealand (we were novices then), we thought, “Nah, let’s just go with the usual car and hotel thing.”
Then COVID hit. All of a sudden, getting out of Dallas, with a house on wheels started to sound really good. There is no doubt that RVing is one of the easiest and safest ways to travel right now. No crowded planes or questionable hotel rooms required – an RV gives you the freedom to explore and the peace of mind of having your own space. Also, IMO, it is the best way to enjoy the beauty of the United States – its national parks.
Choosing our RV Road Trip Destination
When the opportunity came up for me to plan our RV road trip, I was super excited. I immediately started looking up the best road trip destinations, the best places to explore keeping in mind we had only 12 days in total (including driving from and back to Dallas).
One thing we knew for sure was that whatever route we chose, our trip would be centered around national parks and not cities. We had a couple of strong contenders in terms of destinations, but we kept coming back to Utah national parks and Arizona (Grand Canyon National Park, Horseshoe Bend etc.), since these were places we’d been wanting to explore for quite sometime. As with all our travels, I started planning our route on Google Maps and decided that I wanted us to do a combined Utah National Parks Road Trip and National Parks in Arizona and New Mexico. This USA road trip also includes some time in Colorado’s Mesa Verde National Park. When I mapped everything out, I was happy to learn that it would be busy but doable in 12 days.
Renting an RV for our RV Road Trip
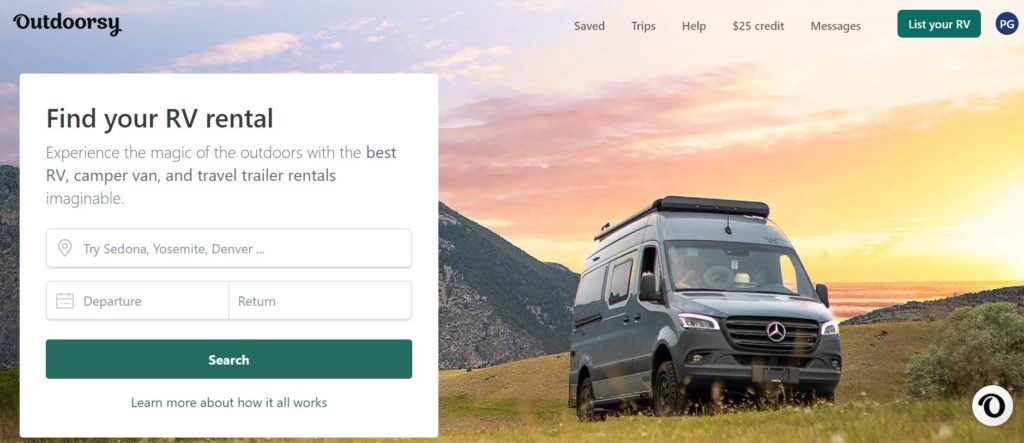
I searched several sites and ultimately decided to rent our RV on Outdoorsy. Outdoorsy is similar to Airbnb, except it’s for RV rentals. What that essentially means is that on Outdoorsy, you rent directly from RV owners.
If you’re looking to rent an RV, this is the best way to go. You can use this link for $50 off your RV rental.
How to Rent an RV on Outdoorsy
We rented our RV on Outdoorsy and it was an easy and seamless process. Here’s how it goes:
- Create an account on Outdoorsy.
- Search for any RV by choosing a pickup location (where will your adventure start?) and entering the pickup date and drop off date (just like a hotel booking).
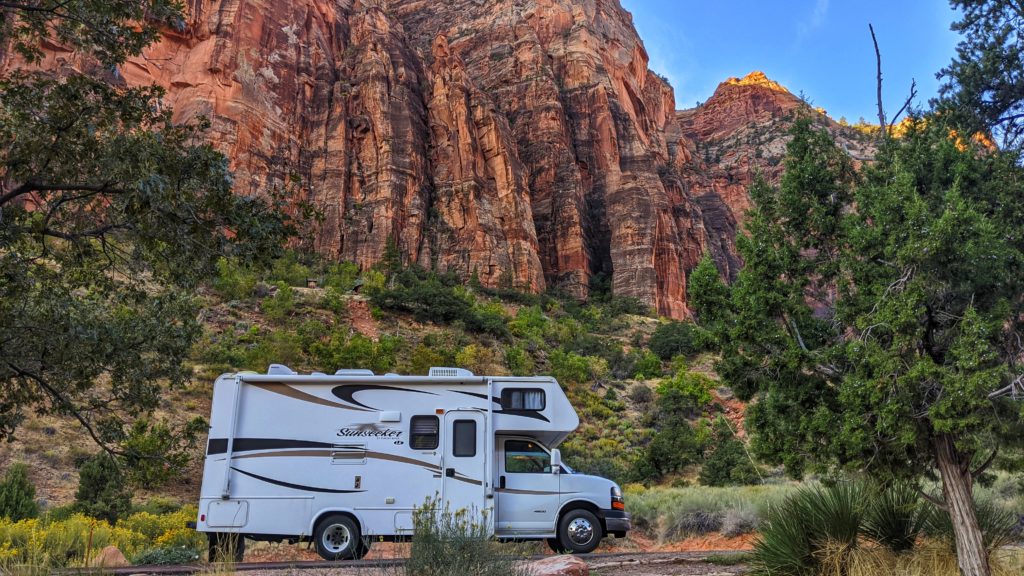
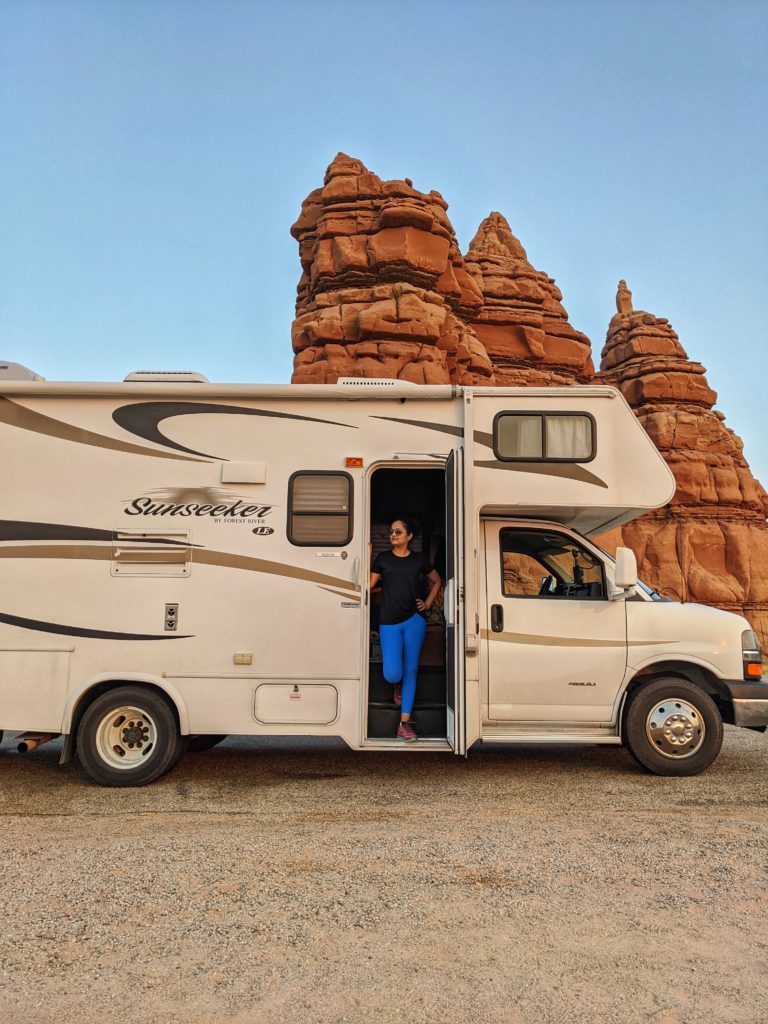
- Customize your search by selecting how many people you need the RV to sleep, price and vehicle type (Our RV was a Class C Motorhome, sleep 6, but it was perfect for us two). You can also customize your search by looking for RVs that include delivery as well as have the instabook option. Instabook just means being able to book the RV without prior approval from the owner.
- Once you find the RV you want, send a message to the RV owner with any questions you may have such as does the RV rental come with any extras like bedding, pots and pans? Make sure to ask if they have all the essentials you’ll need. The RV we rented didn’t have any, so it took us several hours to gather the items we needed and then load the RV. If you are starting your RV trip away from home, it might be helpful if the RV includes some basic things you’ll need.
- Once you have talked to the owner and agreed to everything, the owner will then approve your booking which gives you the green light to reserve the RV and pay the deposit.
- Once everything is clear, you can go ahead and pick up your RV or the owner can deliver it to you, whatever is agreed upon.
- During pickup/delivery, the RV owner will give you a thorough tour of the RV and answer any questions you may have.
When Did We Take This RV Road Trip
We took this RV Road trip during the first week of October, 2020.
What was the Weather Like?
Our RV road trip included five states in total: Texas, Colorado, Utah, Arizona and New Mexico. The weather was perfect for the kind of things we wanted to do on this trip – mainly exploring national parks and hiking. The weather was typical of a desert. The afternoons were warm with temperature ranging from early 70s to early 80s. The mornings and nights were cold with temperature ranging from early 50s to late 30s. I think this was the perfect time for an RV road trip in this part of the USA. Any other time of the year would be either too hot or too cold.
Planning an RV Road Trip
- I spent weeks watching YouTube videos, reading blogs about RV trips and researching everything we needed to know about RVs and going on an RV trip.
- I booked an RV on Outdoorsy and asked all the necessary questions to make sure we had everything we needed.
- I packed enough clothes for 12 days. Because of the nature of this trip, our clothing mostly included active wear.
- I made a rough itinerary and wrote down all the sites that I wanted us to visit and the hikes we would do.
- I researched RV parks, but I did not book any ahead of time because I wasn’t sure where we would end up on each day. I had a flexible itinerary meaning all the stops I wanted us to make were noted, however where we were going to park and sleep was left blank. This worked well in our favor, however it is recommended to book busy RV Parks ahead of time especially during the holidays and peak season as they fill up very quickly. Even though this was not really peak season for Utah and other states we visited, we found RV parks were mostly reserved. I guess that’s because RVing is really popular right now owing to COVID-19.
- I also planned a rough menu for all our meals for 12 days. This helped me decide on things I wanted to prepare beforehand and carry with us as well as our grocery shopping. Our RV had a big enough fridge and freezer so we stocked well. Because of COVID, eating out was not in our plan.
- We loaded up the RV and headed out to explore!
Things to Note when Planning an RV Road Trip to National Parks
- You have to pay to enter every national park so make sure you purchase an Annual National Parks Pass (America the Beautiful Passes) at the first national park you visit. It cost $80 and is an awesome deal if you plan to visit more than one national park. It is valid for a whole year from the date of purchase. We bought one on this trip and will be able to use it until October 2021.
- The National Parks Pass does not apply to state parks. You will need to pay a separate fee to enter which costs between $10 to $20 per vehicle.
- When you get to an RV park late at night and the front desk is closed, you will find a notice board at the entry that lists all the open RV spots and the cost. Each spot will have an envelope which contains a map, Wi-Fi information and all the details you need to do. All you need to do is pick an RV parking spot, grab the corresponding envelope and go park there. In the morning when the office opens, you can go in and pay.
- There are some apps that we used for looking up RV sites while on the go – RV Parky, Campendium, Free Campsites and of course the Search on Google Maps.
- If you’re not able to find an RV park reservation, don’t fret. There are always free camping options for RVs AKA boondocking or dry camping. These are either on BLM (Bureau of Land Management) land or dispersed camping locations. Essentially, “dispersed camping” is camping outside of a designated campground. This can mean driving up a forest access road to a pullout where you can park your RV. It can also mean backpacking into the mountains and finding a flat spot to pitch your tent. The important thing to bear in mind here is that you will need to be completely contained in your RV since you’ll not get any kind of hook-ups or amenities. So if you decide to boondock a night, make sure your RV has enough water for you to survive, your grey/black water tanks are not full, and you have everything you might need. During our 12-day RV road trip, we managed to get RV park reservations only four times. But, dispersed camping quickly became our favorite way to camp overnight, specifically because it involved less preparation. I didn’t have to scour recreation.gov or other apps for reservations, pay various fees to hold my spot, call campgrounds first thing in the morning to ask about availability. But it’s important to be prepared both from a safety and comfort standpoint.
Utah National Parks Road Trip Itinerary + Colorado, Arizona, New Mexico
This road trip was a mix of both a Utah National Parks road trip and some parts of the Southwest because we road tripped through Texas, Colorado, Arizona, New Mexico and visited all the National Parks in Utah.
Below is a detailed day by day itinerary which includes what we did on each day, where we drove from and to as well as the distance, drive time and RV park/boondocking spot we stayed at.
State abbreviations to note:
- Texas – TX
- New Mexico – NM
- Colorado – CO
- Utah – UT
- Arizona – AZ
Utah National Parks Road Trip Itinerary + Colorado, Arizona, New Mexico – Day 0
TO DO – RV lesson 101 from the owner and load up the RV
When booking our RV from Outdoorsy, I asked the RV owner if she offered drop off and pickup, and she agreed to do so for $100 extra.
I also asked her if she would be kind enough to drop off the RV the night before so that we could load it up at no extra charge, and she agreed. Yay!
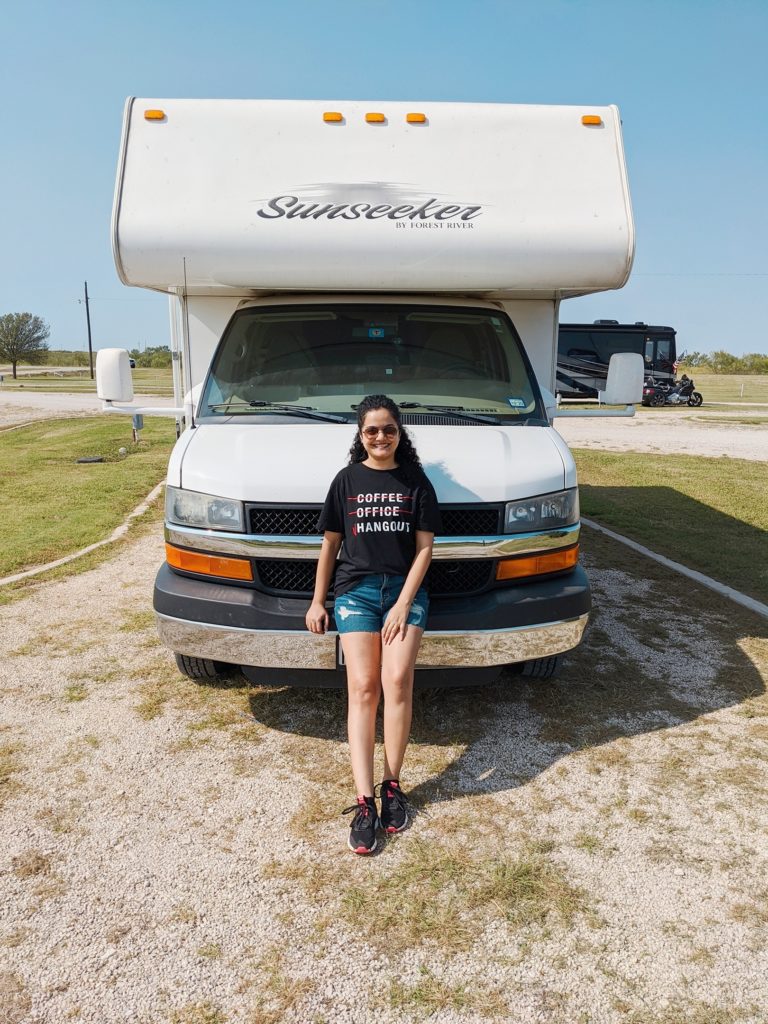
This was perfect because we spent all evening packing and loading up the RV. This helped tremendously, especially as we had to load the RV with all our clothes, and food and essentials that we would need for our Utah National Parks RV road trip.
Utah National Parks Road Trip Itinerary + Colorado, Arizona, New Mexico – Day 1
TO DO – Finished loading up the RV and hit the road
Drive – Dallas to Amarillo
Distance/Drive Time – 341 miles / 5.5 – 6 hours
RV Park – Boondocked at Amarillo Travel Information Center
RV Park Cost – Free
We woke up very early this morning and quickly loaded up the RV with the last things we needed. It took a little longer than we expected, and we ended up leaving the house a little later than I hoped.
We were so excited to be in the RV. The drive was pretty comfortable. For the first night, we boondocked at the Amarillo Travel Information Center.
Utah National Parks Road Trip Itinerary + Colorado, Arizona, New Mexico – Day 2
Drive – Amarillo, TX to Bayfield, CO
Distance / Drive Time – 477 miles / 8 hours
RV Park – Bayfield RV Park, Bayfield CO (booked on the way)
RV Park Cost – $65 (approx.) / night
We got to Bayfield RV Park pretty late in the evening. We found the board that listed which RV sites were still available. We grabbed an envelope that included a map, Wi-Fi password and whatever important things we needed to know. We then drove to the RV spot we picked and parked. My husband hooked up the RV and we were ready to have dinner and enjoy our night in the RV.
Utah National Parks Road Trip Itinerary + Colorado, Arizona, New Mexico – Day 3
TO DO – Durango, CO and MESA VERDE NATIONAL PARK, CO
DRIVE 1 – BAYFIELD, CO TO DURANGO, CO
DISTANCE/DRIVE TIME – 20 MILES / 30 MINUTES
DRIVE 2 – DURANGO, CO – MESA VERDE NATIONAL PARK, CO
DISTANCE/DRIVE TIME – 36 MILES / 40 MINUTES – 1 HOUR
DRIVE 3 – MESA VERDE, CO – MOAB, UT
DISTANCE/DRIVE TIME – 124 MILES / 2.5 – 3 HOURS
RV PARK – MOAB VALLEY RV RESORT, MOAB UT
RV PARK COST – $48 APPROX / NIGHT
The next morning, after breakfast and the usual RV chores like emptying/filling tanks, we walked around the RV park before getting back on the road.


We’d been to Colorado before but it was our first time in this area of ‘the colorful state’. We decided to spend some time exploring the small town of Durango. This is where the famous 19th-century Durango & Silverton Narrow Gauge Railroad steam train starts from. We did not do this train ride this time, but it’s definitely on our travel to-do list.


After strolling though the cute historic district of Durango, we headed to our first national park on this RV trip – Mesa Verde National Park. This national park was not originally on our list, but being BIG national park fans, we didn’t want to miss it especially since we were so close. Plus, my husband is a huge history + architecture buff and Mesa Verde National Park really got him interested.
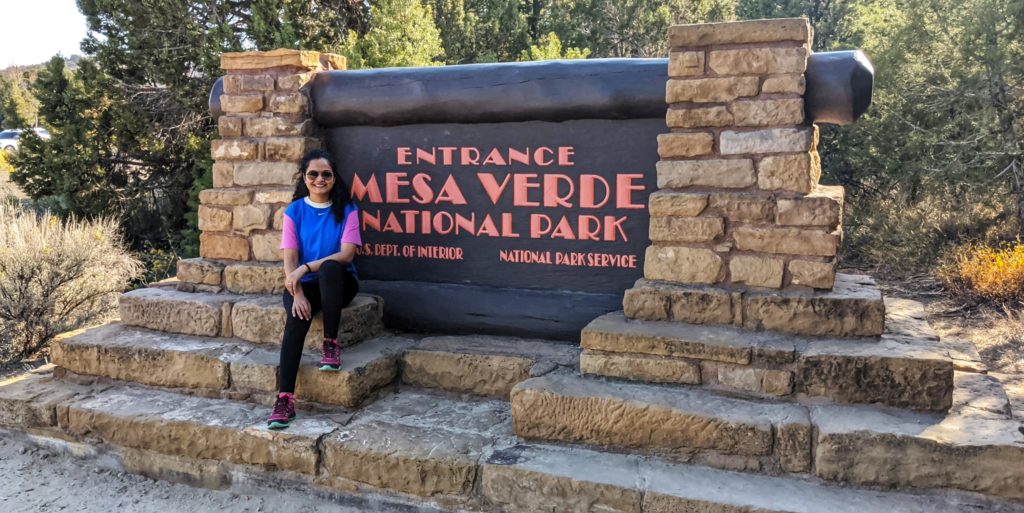
I love the diversity of the US National Parks. Some parks draw visitors because of their exquisite natural beauty. Mesa Verde National Park’s draws aren’t towering waterfalls or prime wildlife viewing. So what are the best things to do in Mesa Verde National Park? Mesa Verde is a great place to hike and enjoy nature but the park’s allure is the nearly thousand-year-old cliff dwellings that make up the United States’ largest archaeological preserve. The park is known for its well-preserved Ancestral Puebloan cliff dwellings. This park can be easily explored while driving the loop roads and stopping at the various overlooks. The most popular Cliff Palace trail can be done with a guided tour only (to protect the dwellings). Although the cliff dwellings were closed for the season (October through early April), overlooks offer spectacular views, and there is still plenty to see and do in the park.
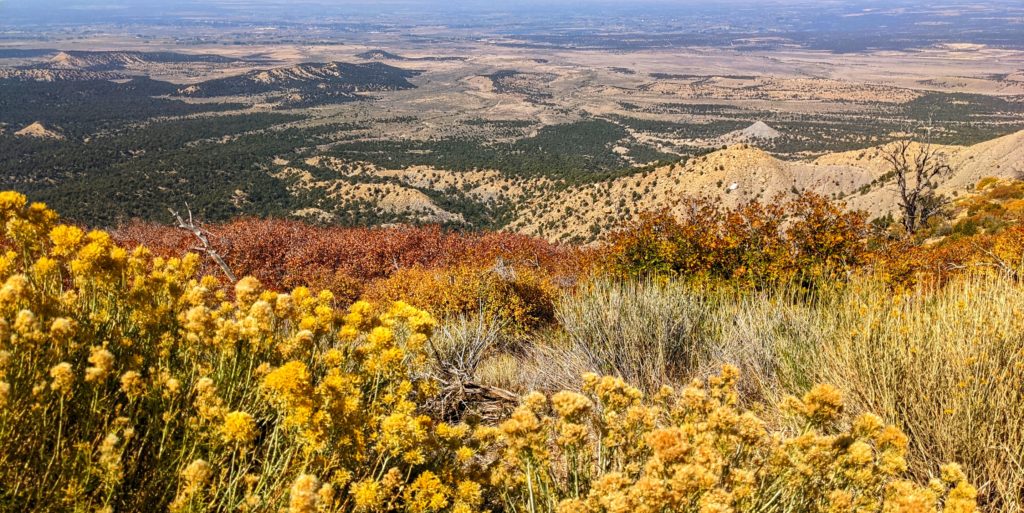
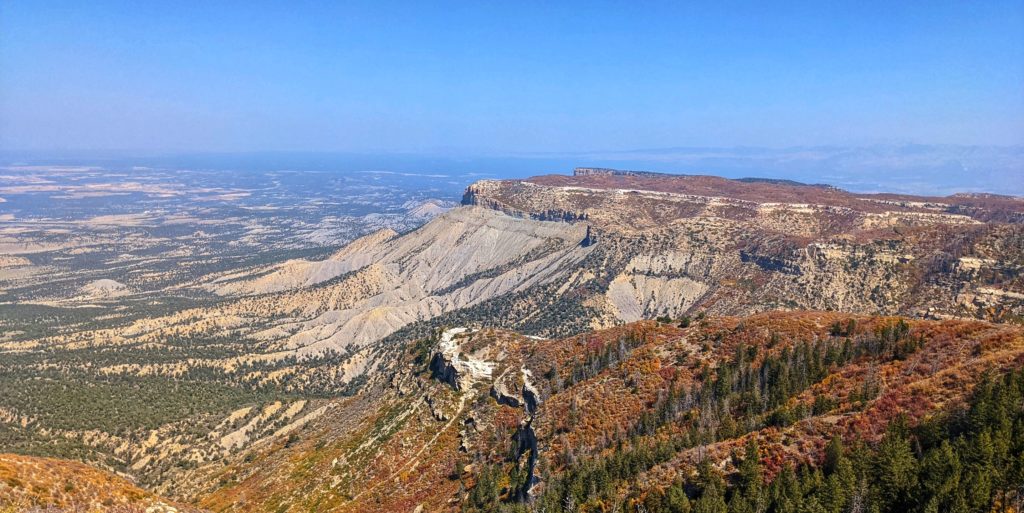
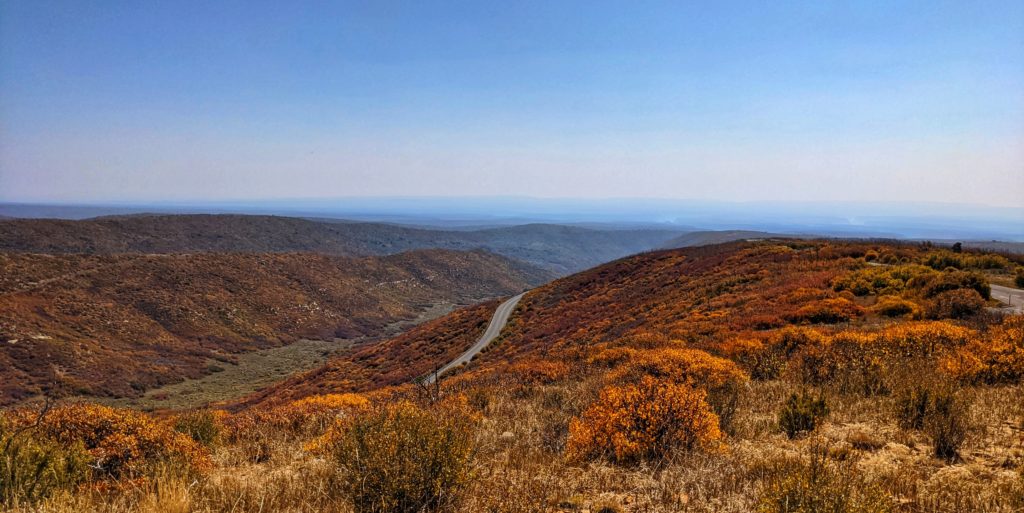
We picked a park map from the ticket booth and decided to drive the six-mile Mesa Top Loop Road that winds past archaeological sites and overlooks, including Sun Point Overlook with panoramic canyon views.


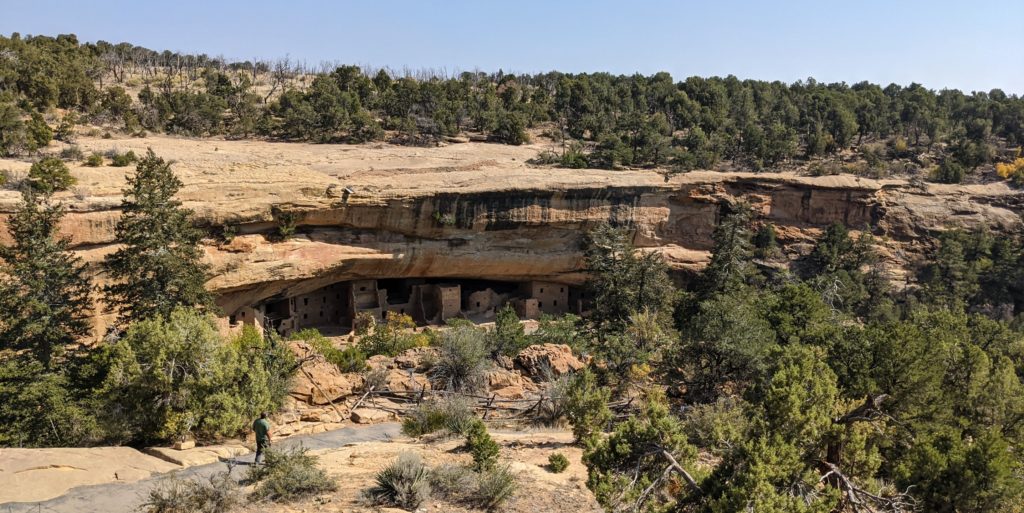
The highlight of the drive for us was our stop at Sun Temple which gave us an incredible view of Cliff Palace.
After an awesome day exploring Mesa Verde, we started driving toward Moab, UT – to start our mega RV trip to Utah’s Mighty Five. What do I say about this gorgeous state – the moment we entered Utah, we were greeted by stunning views of red rock canyons dipped in golden sunset hour light.
We parked our RV safely on the side of the road for a tea break while watching the glorious sunset – you get to experience this only while road tripping in an RV.
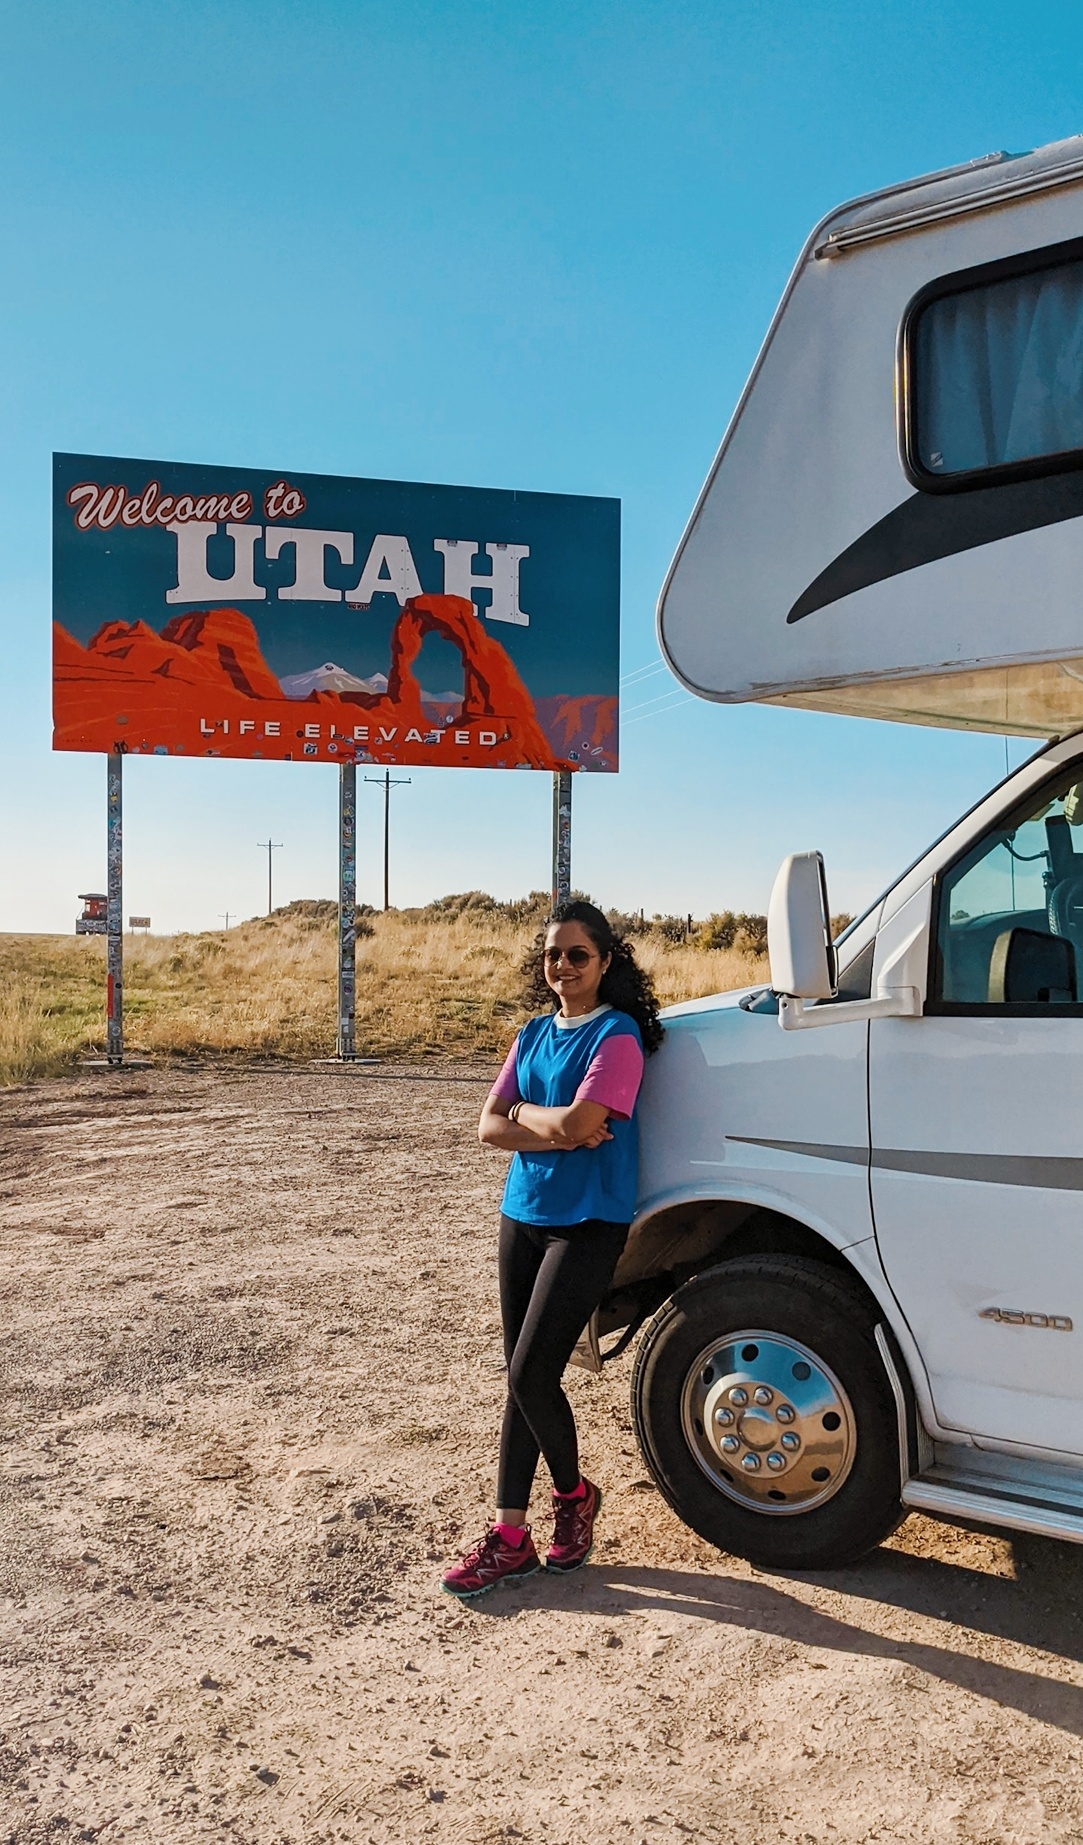


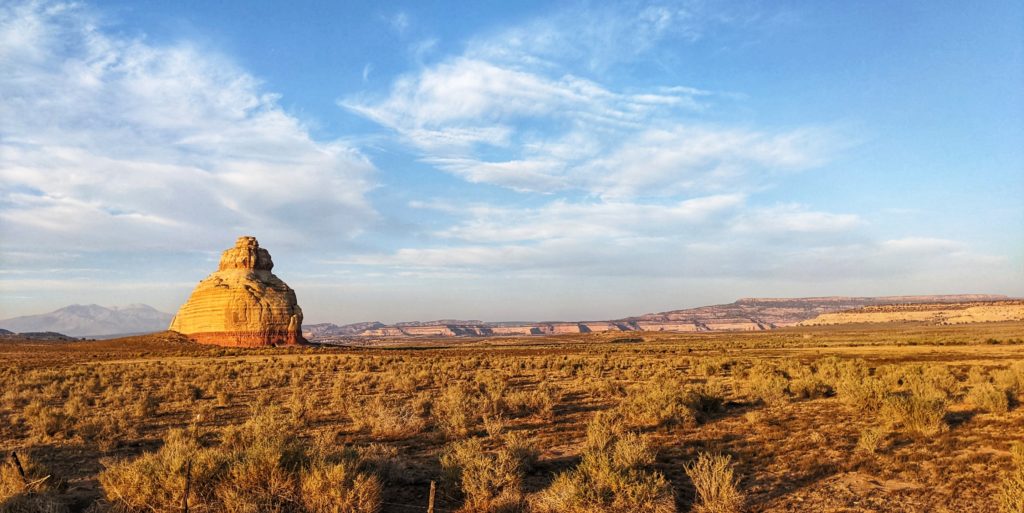
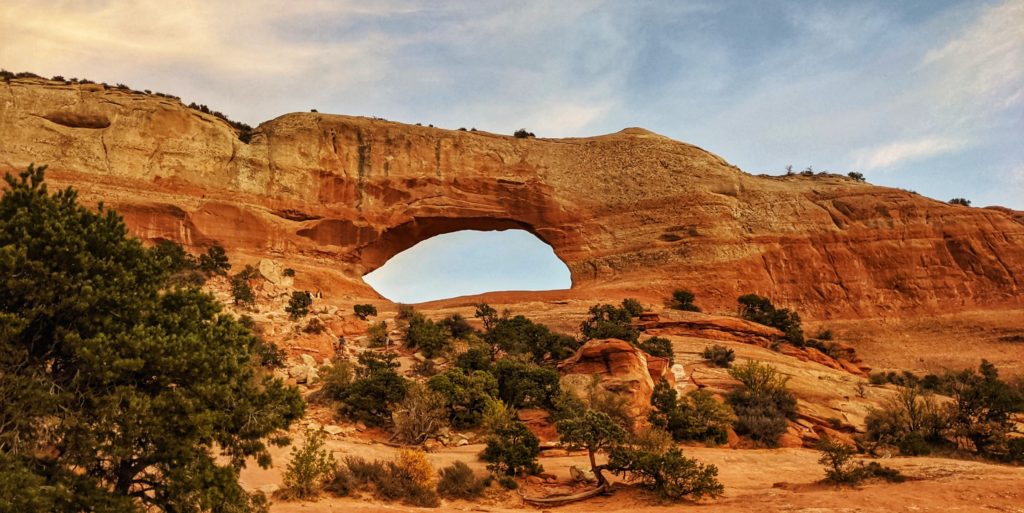
We checked into our RV park quite late at night, had a quick dinner and went off to sleep. Our plan was to enter Arches National Park before sunrise – to escape the crowds and of course, catch the sunrise.
Utah National Parks Road Trip Itinerary + Colorado, Arizona, New Mexico – Day 4
TO DO – ARCHES NATIONAL PARK + CANYONLANDS NATIONAL PARK
DRIVE 1 – MOAB VALLEY RV RESORT – ARCHES NATIONAL PARK VISITOR CENTER
DISTANCE/DRIVE TIME – 3 MILES / 10 MINUTES
DRIVE 2 – ARCHES – CANYONLANDS (ISLAND IN THE SKY)
DISTANCE/DRIVE – 27 MILES / 30 MINUTES
DRIVE 3 – CANYONLANDS – HANKSVILLE, UT
DISTANCE/DRIVE – 117 MILES / 2 – 2.5 HOURS
RV PARK – DUKE’S SLICKROCK CAMPGROUND AND RV PARK, HANKSVILLE, UT
RV PARK COST – $70 APPROX / NIGHT
Like I said, our plan for this day was to reach Arches National Park before sunrise. We woke up in the wee hours of the morning and simply drove to the Arches Visitor Center (4 am to be precise). Because we had not hooked up our RV the previous night, we could simply wake up and drive without wasting any time. Fortunately, our RV park was just a 10-minute drive to the Arches visitor center. Our plan was to park our RV at the visitor center, sleep in for some more time if we felt the need, get up, get ready, have our morning tea and then, enter the park. So, that’s what we did.
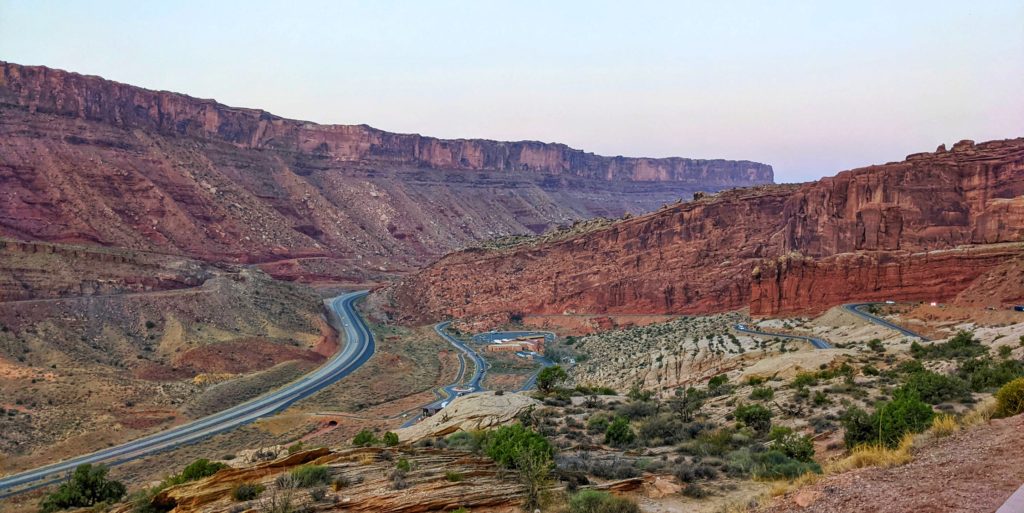


You know what they say – The treasures are left where most aren’t brave enough to go or too early for most of us to get up for. This is absolutely true for Arches National Park. The beauty of the red sandstone arches at sunrise is absolutely breathtaking. In fact, the views in all the Utah National Parks are meant to be best experienced either at sunrise or sunset. When the sun is overhead, it gets too hot and everything just turns hazy.
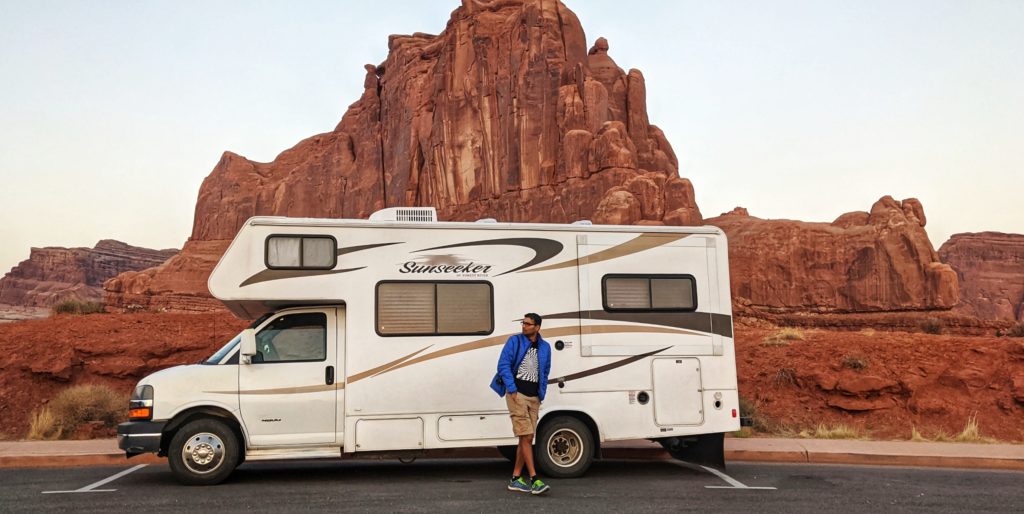
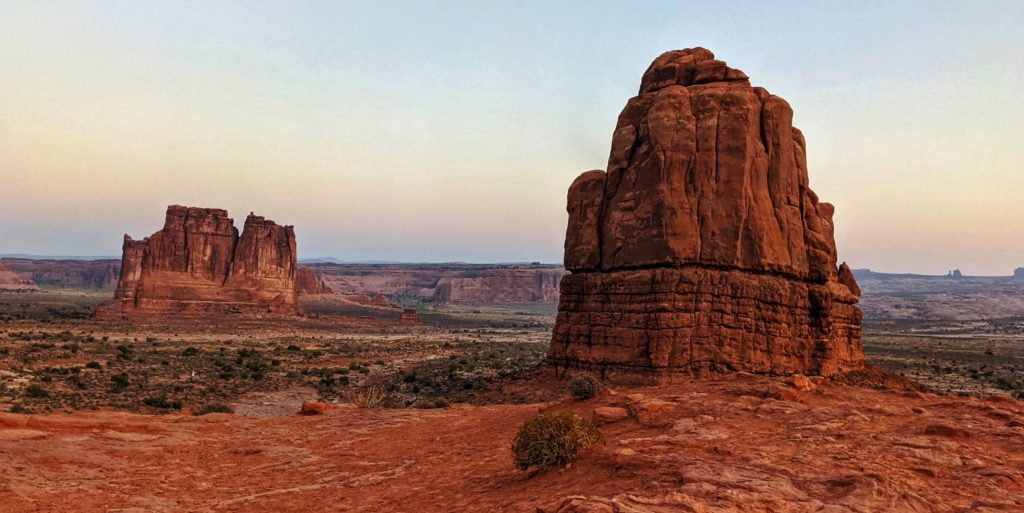
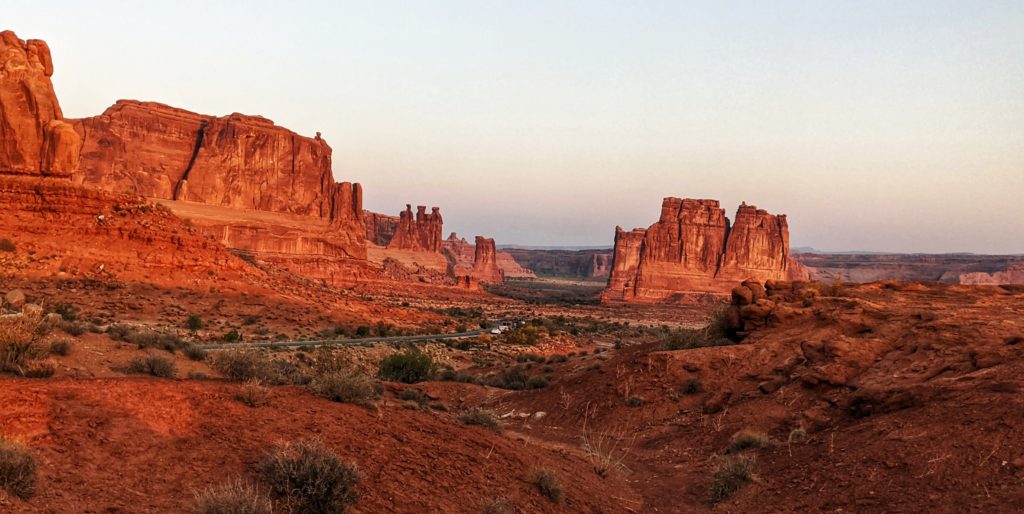
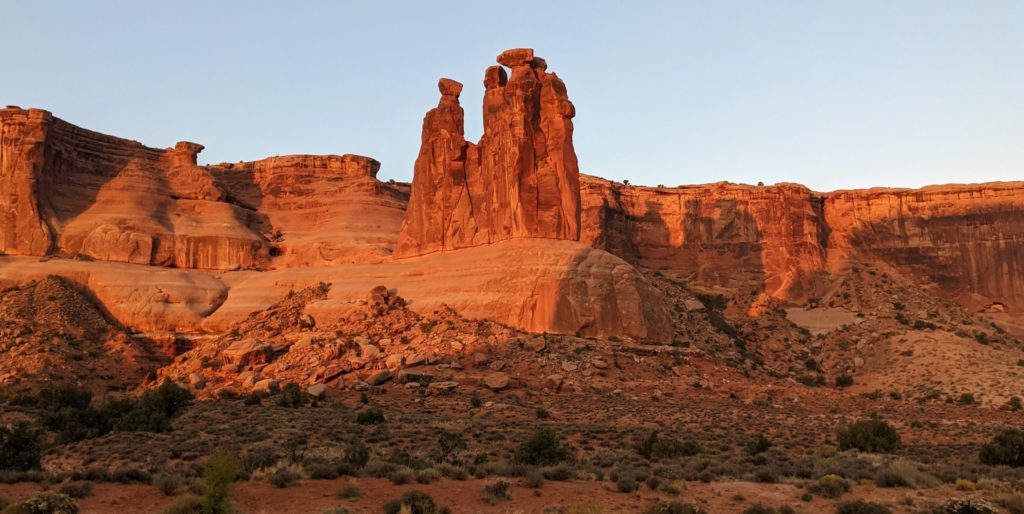
Have you ever been to a place where around every corner you are like “OMG LOOK! Woaaaaaah. It’s so pretty!”. That was Arches National Park for us. Out of the five national parks V and I visited in Utah, we LOVED Arches National Park the most! It was simply breathtaking! Not to say the other national parks weren’t, however, it was just… different. Everything seemed more epic in Arches and the sunrise was BEAUTIFUL.


We spent half a day at Arches National Park hiking different trails as well as enjoying the scenic drive. Our favorite was of course the Delicate Arch hike. I will do a separate post on the best hikes in Arches National Park.
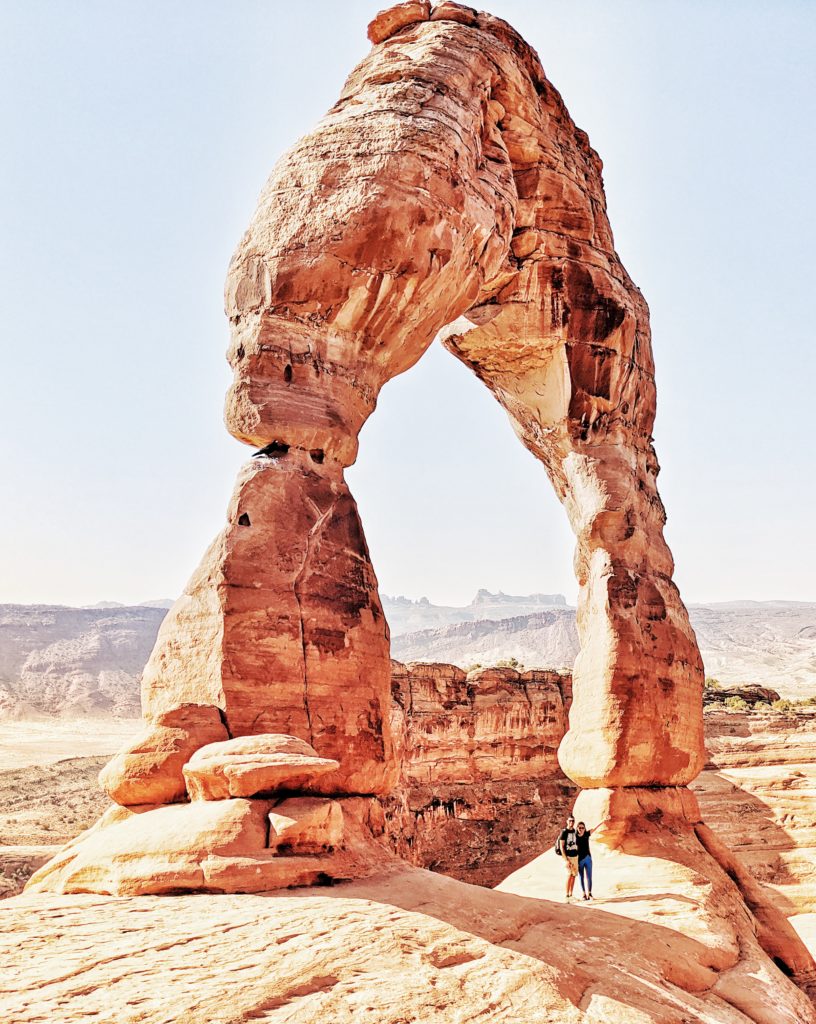
Arches National Park has a very scenic drive, and we could see the beautiful rock formations as we drove through in our RV. We drove up to each trail we wanted to hike, parked our RV, hopped out and explored.
After spending the first half of our day at Arches, we headed toward Canyonlands National Park. We did not plan on hiking a lot in Canyonlands. Canyonlands is the largest national park in Utah and is undeniably beautiful. The park offers beautiful views that allow you to see for miles. Island in the Sky is the district that is easiest to access and is the most visited district. It has beautiful pull-off spots and hiking trails that bring you to breathtaking views. Once we entered the park, it was time to explore!
Like always, we grabbed a park map from the visitor center, and started following the directions for the various overlooks marked. If you are looking to get a few good hikes in at Island in the Sky, I recommend allocating 1 day in Canyonlands National Park. But if you are looking to simply drive around and see everything that is easily accessible, you only really need a couple of hours. To be honest, this national park is not impressive midday especially if you already explored Arches National Park, but I imagine it would be a sight to see during the golden hour!
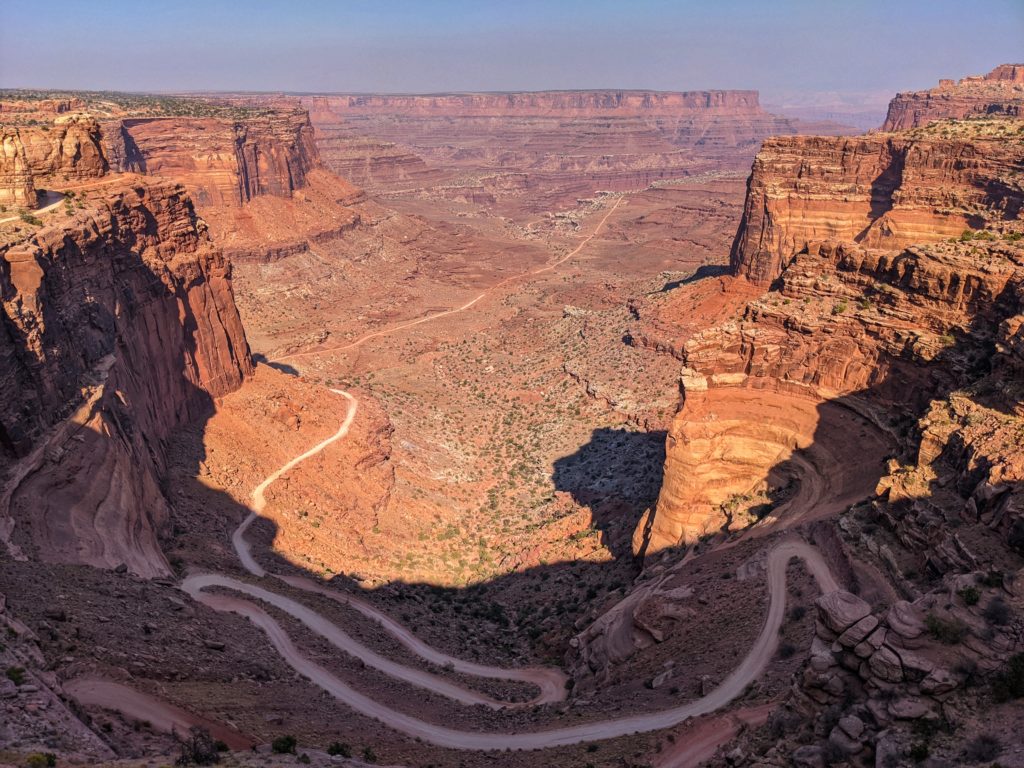
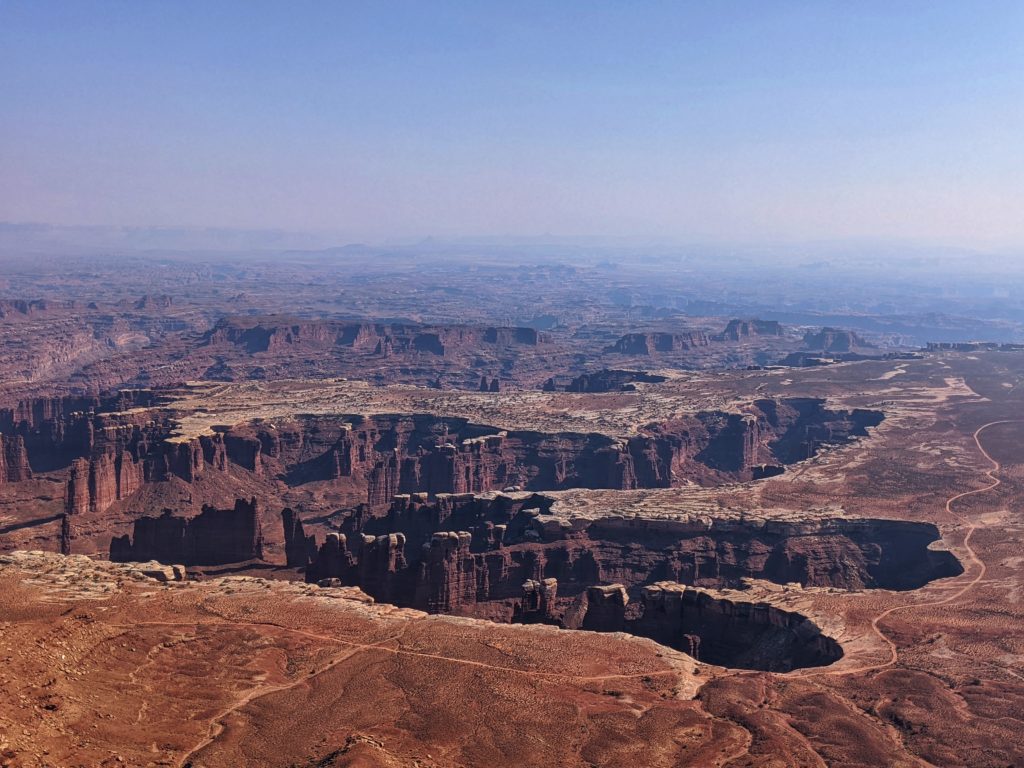
Nevertheless, we did see quite a few magnificent canyons and geographical features. Some of our favorite stops were the Shafer Canyon Overlook and Grand View Point.
Utah National Parks Road Trip Itinerary + Colorado, Arizona, New Mexico – Day 5
TO DO – FRUITA CAMPGROUND AND CAPITOL REEF NATIONAL PARK + SCENIC HIGHWAY 12 AND DIXIE NATIONAL FOREST
DRIVE 1 – HANKSVILLE, UT – FRUITA CAMPGROUND, UT/CAPITOL REEF
DISTANCE/DRIVE TIME – 99 MILES / 1.5 – 2 HOURS
DRIVE 2 – CAPITOL REEF – TOM’S BEST SPRING IN DIXIE NATIONAL FOREST
DISTANCE/DRIVE TIME – 117 MILES / 2.5 HOURS
RV PARK – BOONDOCKED AT TOM’S BEST SPRING IN DIXIE NATIONAL FOREST (DISPERSED CAMPING NEAR BRYCE CANYON)
RV PARK COST – FREE
After all that hiking in Arches National Park the previous day (especially the Delicate Arch hike), our legs were on fire. Honestly, getting on and off the RV was a task. We were literally sliding off the RV when we had to get off. It was funny. 🙂
So, we decided to keep this day a little more relaxed. But in my opinion, hiking is necessary in Capitol Reef if you want to truly experience the park. Unfortunately, we had no strength. But we did drive through the Capitol Reef Scenic Drive which I highly recommend too.
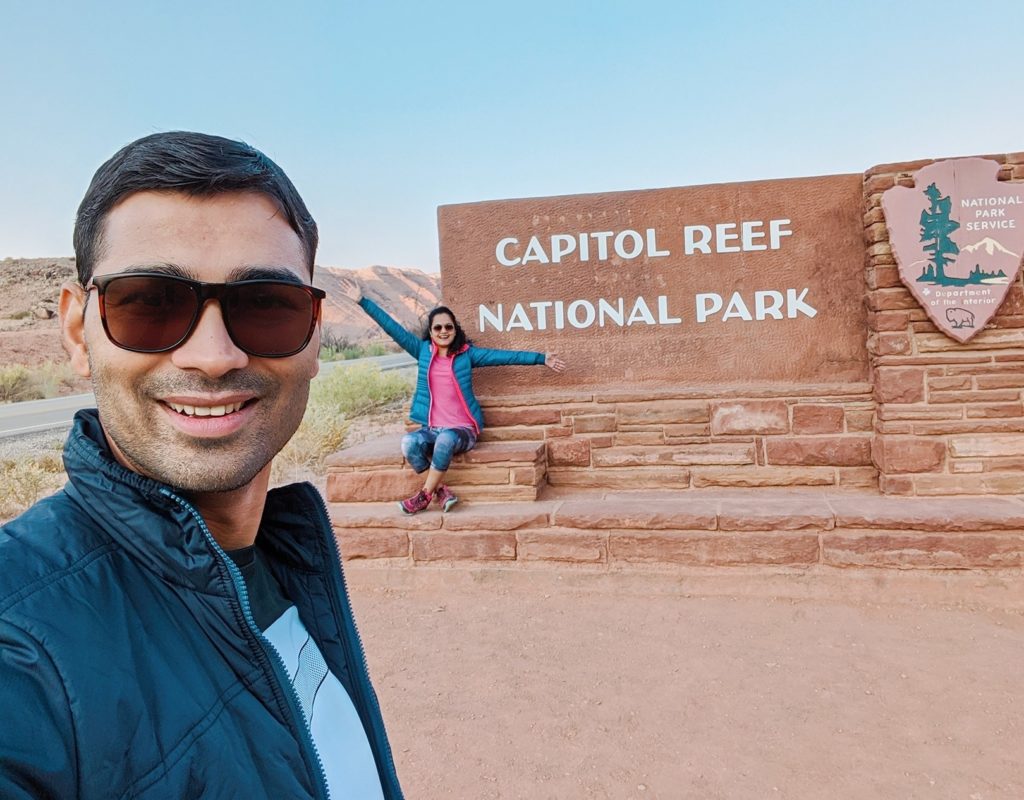
But my most favorite part of Capitol Reef was the Fruita Campground. Fruita Campground is the only developed campground in Capitol Reef National Park and easily the most stunning campground I have ever seen. It’s located in Fruita, the park’s historic district. The campground was long run on a first-come-first-serve basis, but as of early 2018, campsites at the Fruita Campground can be reserved ahead of time for the months March through October. We really wanted to stay here overnight, but the park was absolutely booked through the next six months.
Even if you can’t manage to grab a campsite here, I would still suggest you go check this place out. We reached here early in the day and were instantly charmed! Fruita Campground is a land of contrasts – I’m talking a lush oasis within a red rock desert. In the late 1800s, this fertile valley was settled by pioneers that planted thousands of fruit trees.


The Fruita campground is located within the orchards and guests are free to pick the fruit.
There is also a small historic homestead that sells fresh homemade fruit pies and cinnamon rolls.
The campground is like something out of a fairytale. The verdant landscape sits in the shadow of towering red cliffs with a river to play in, a sunset hike overlooking the valley, and deer grazing in the orchards at dusk and dawn.
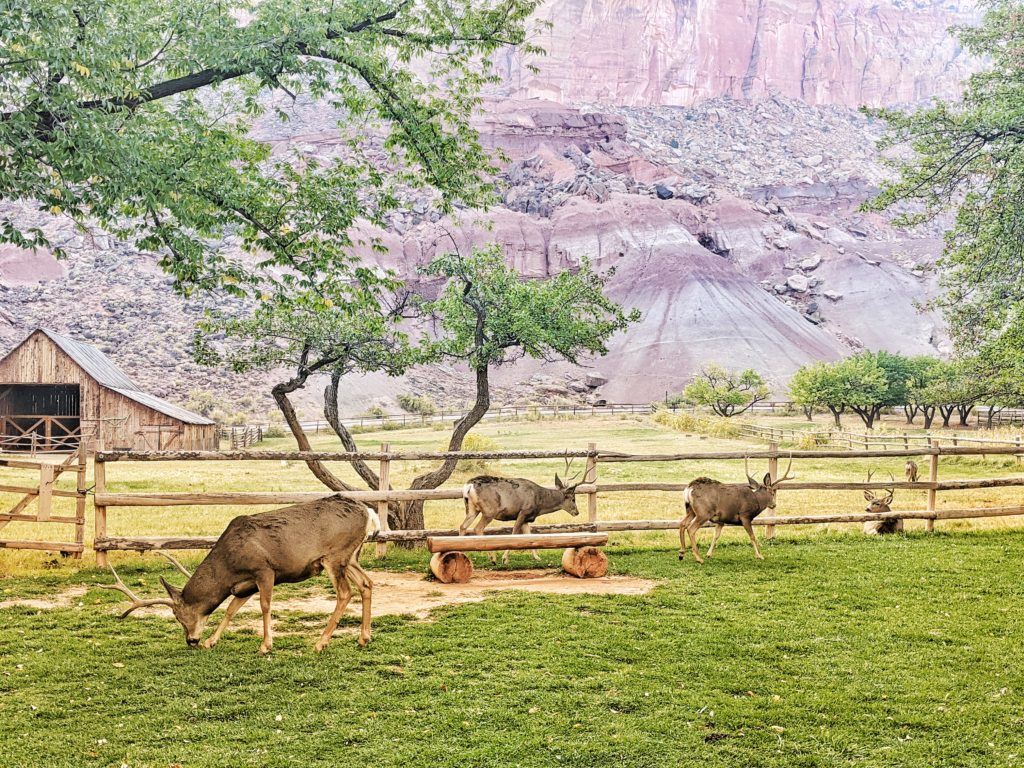
If you’re into stargazing, this area is considered an International Dark Sky Park. I think if you do manage to stay here overnight, you should thank your lucky stars!
Some things to bear in mind while visiting Capitol Reef National Park:
- If you’re driving a car, I recommend grabbing food-to-go in Moab because there won’t be many places to stop on the drive. Whereas, if you’re RVing, you of course have nothing to worry in the food department but make sure you have enough gas.
- Be prepared for any kind of weather. The weather in Capitol Reef can change instantly. At the beginning of our day in the park, it was a beautiful, 80° day with a cloudless sky. As the day progressed, the wind picked up quickly and brought in rain clouds. We were heading down when they rolled in, so we were lucky! Everything happened so fast, and it suddenly down poured. Then it was back to a beautiful day!
Capitol Reef National Park is the most underrated national park in Utah, in my opinion. It is less known, so most people visiting Utah skip it, but I think allocating at least half a day to the park in your southern Utah road trip itinerary is well worth it!
The next park on this trip was Bryce Canyon National Park. We took the State Route 12 or Scenic Byway 12 to reach Bryce Canyon. I would highly recommend driving this route for the most spectacular landscape you would ever see.
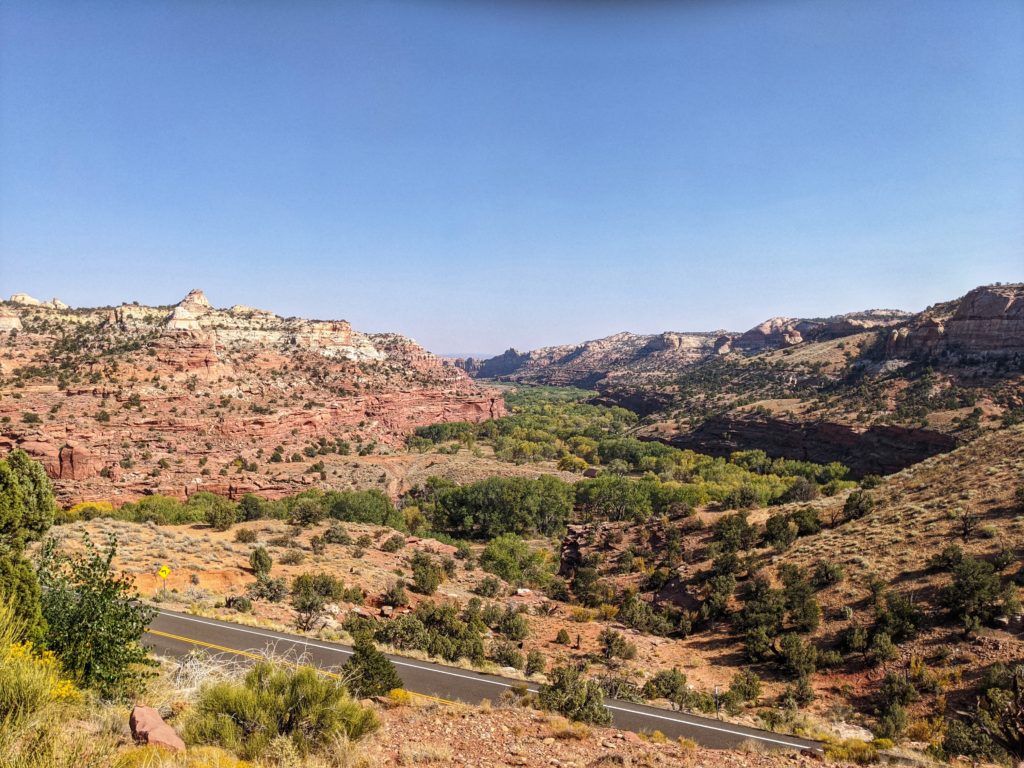


This is 122.863 miles (to be exact) of pure driving bliss. Welcome to Utah’s Scenic Byway 12, also known as “A Journey Through Time Scenic Byway.” What’s more, this stretch of pavement is also designated an All-American Road. Only one-third of America’s scenic byways get this distinction, and it’s given because these roads offer unique features that you can’t find elsewhere making these byways tourist destinations unto themselves.
Scenic Byway 12 connects U.S. 89 near Panguitch on the west with S.R. 24 near Torrey on the northeast. It is not the quickest route between these two points, but it’s the best. Hitting the road, we had a destination in mind. That destination quickly took a backseat to the journey as we climbed into the Dixie National Forest from Torrey.
There were lots of beautiful places and overlooks to stop and admire on this epic road. A stop at the scenic overlook near the road’s summit at about 9,000 feet put everything into perspective. We could see distant lands, the Henry Mountains, Grand Staircase–Escalante and the shimmering red rock of Capitol Reef National Park all enveloped together.


The sheer diversity of geography you find here is incredible and unique to Utah and the United States. You can enjoy the highway over the course of your vacation as you make stops along the way, or you can drive the entire expanse in one 65 m.p.h. whirlwind of beauty in a day.
We tried contacting some RV parks this evening but to no avail. So we went ahead with what had become our go-to option – boondocking. We searched for some locations and finally settled for a dispersed camping site in Dixie National Forest. This wasn’t too far from our next destination – Bryce Canyon National Park.
Utah National Parks Road Trip Itinerary + Colorado, Arizona, New Mexico – Day 6
TO DO – BRYCE CANYON NATIONAL PARK, UT
DRIVE 1 – TOM’S BEST SPRING IN DIXIE NATIONAL FOREST, UT – BRYCE CANYON, UT
DISTANCE/DRIVE TIME – 10.6 MILES / 16 MINUTES
DRIVE 2 – BRYCE CANYON NATIONAL PARK, UT – OLD HIGHWAY 89 DISPERSED CAMPING, UT (NEAR ZION)
DISTANCE/DRIVE TIME – 61.3 MILES / 1.5 HOURS
RV PARK – OLD HIGHWAY 89 DISPERSED CAMPING, UT (NEAR ZION EAST ENTRANCE)
RV PARK COST – FREE
WOW! We were half-way through our RV trip and time was running by fast. Each day was turning out to be more epic than the earlier. After Arches National Park, it was Bryce Canyon National Park that I was most looking forward to. Obviously, it did not disappoint.
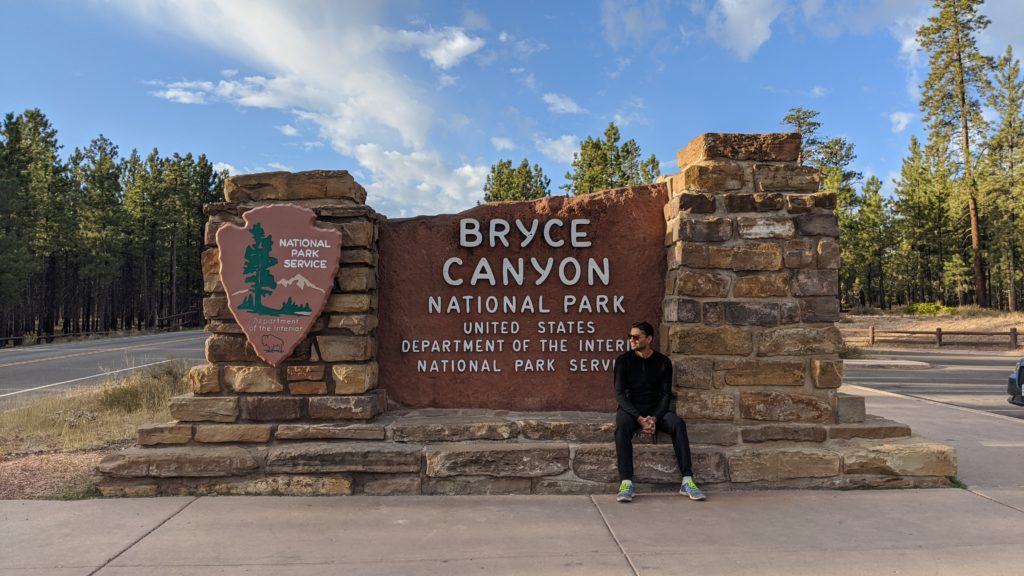
As was the norm on this trip, we started our day early in the morning. Breakfast was done and we were ready to explore the land of hoodoos!
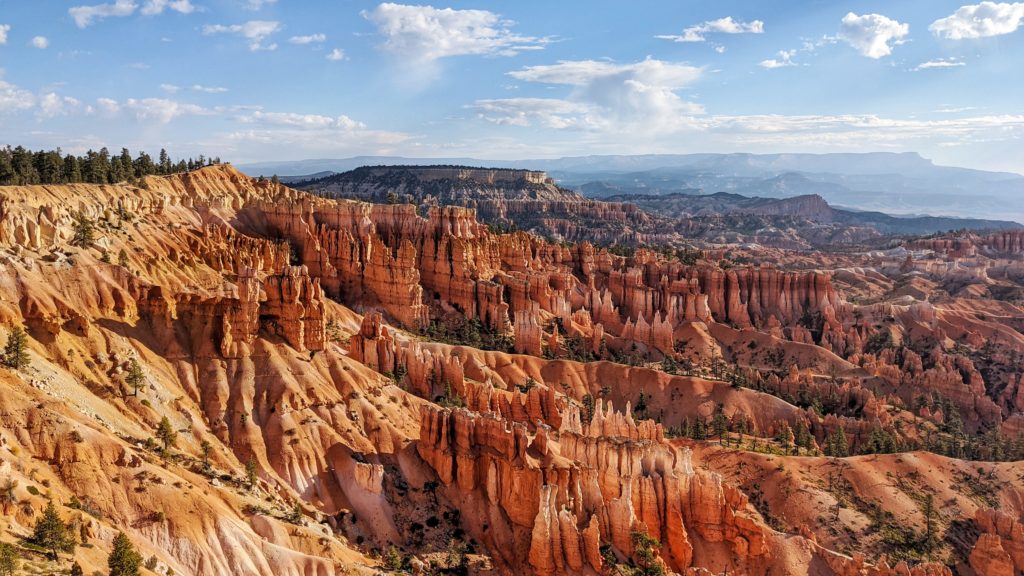
Similar to the other parks, there are a lot of viewpoints and trails in Bryce Canyon National Park. The first viewpoint you’ll come across after the park entrance is the Inspiration Point. This was our first hoodoo experience, and we were in awe! Inspiration Point gives you a beautiful view of the Bryce Amphitheater and mountains in the east. The view goes on for miles and is really incredible!
If you want to truly experience Bryce Canyon’s hoodoos up close and personal, the Navajo Loop is for you! This is what we chose to do first thing before it got crowded and hot.


It is one of the most popular and best hikes in Bryce Canyon National Park, and for a good reason! The 1.4-mile loop begins at Sunset Point and hikes down to the floor of the hoodoos passing by some of the most well-known hoodoos, such as Thor’s Hammer, Wall Street, and Twin Bridges. Hiking Navajo Loop is one of the best things to do in Bryce Canyon National Park.
From Sunset Point, the Navajo Loop immediately descends into the canyon. It is a relatively steep decline, but there are switchbacks that help. After the switchbacks end, the trail has a gradual decline to the canyon floor. This is where you get to really experience the beauty of the hoodoos! Once you pass by Wall Street, Twin Bridges, and Thor’s Hammer, the ascent begins back to the rim. Luckily, the switchbacks make the elevation gain relatively easier on the legs.
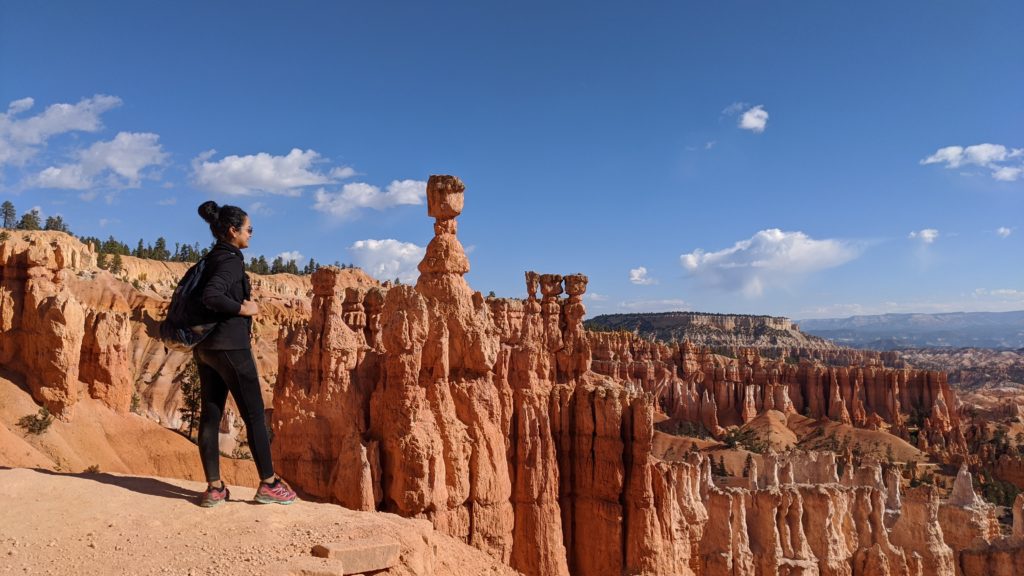
There are other similar hikes like the Fairyland Loop but this trail is much longer than the Navajo loop. So we decided to skip it and instead walked on the Bryce Canyon rim to take in all the gorgeous views.
This was another boondocking night, just 20 minutes away from the Zion National Park entrance.
Utah National Parks Road Trip Itinerary + Colorado, Arizona, New Mexico – Day 7
TO DO – ZION NATIONAL PARK, UT
DRIVE 1 – OLD HIGHWAY 89 DISPERSED CAMPING TO ZION EAST ENTRANCE
DISTANCE/DRIVE TIME – 15 MILES / 20 MINUTES
DRIVE 2 – ZION NATIONAL PARK TO FREDONIA, UT
DISTANCE/DRIVE TIME – 37.6 MILES / 45 MINUTES
RV PARK – WHEEL INN RV PARK, FREDONIA AZ
RV PARK COST – $30 APPROX / NIGHT
We made it to the final national park part of the Utah Mighty 5…and what a mighty national park Zion is! The moment we hit the Mount Carmel Junction, we could not take our eyes off the majestic canyon walls surrounding us. Zion National Park is truly beautiful!
Fun Fact: Zion is Utah’s first national park!
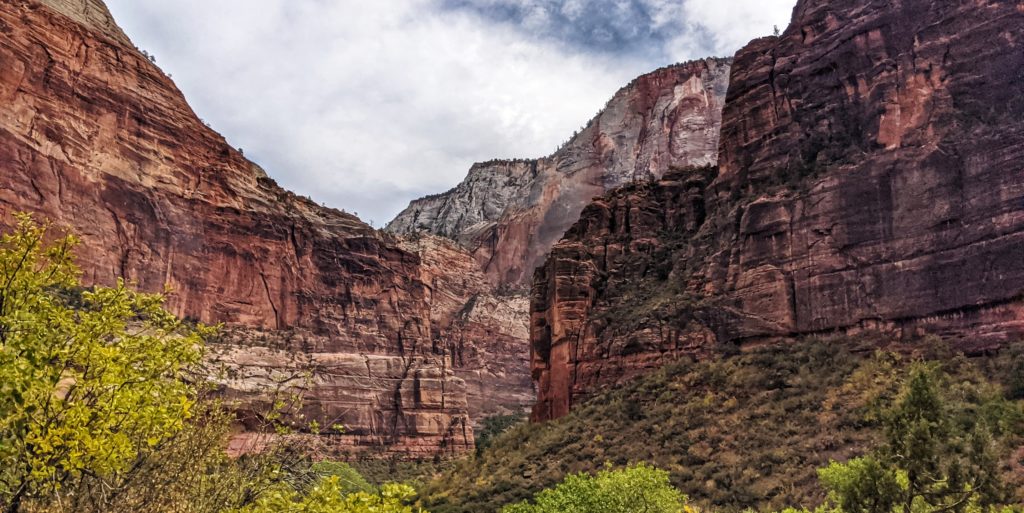
We have an interesting story here. I won’t be exaggerating if I said that we got to experience Zion National Park by sheer luck and chance. You ask why? Well, Zion National Park was always on our itinerary but because of COVID-19, the park had different rules which made it almost impossible for us to visit this wonder. It’s important to note that once you get inside the park, you need to park your vehicle at one of the designated parking spots near the entrance and then take a park shuttle to explore the various trails and hikes. Normally, these shuttles are free and on a first-come-first-served basis. But due to COVID, the park required us to book our shuttle tickets in advance (for a small $1 fee) and for a fixed 1-hour window. This is where our luck played a part. We could not manage to get our shuttle tickets since everything was sold out. However, V still decided we should head to Zion ad try our luck. So we parked our RV at the visitor center and walked up to the park ranger checking shuttle tickets at the boarding spot. We told him that we could not manage to get any shuttle tickets and if there was any way we could still get on the shuttle. The awesome park ranger smiled, pulled out two shuttle tickets from his pocket and handed them to us. Someone had to cancel their plan and were nice enough to donate their tickets. It was clearly our lucky day! 🙂


Zion National Park is ALWAYS crowded no matter what day of the week you go. We went on a Friday and it was super busy.
While you can hop on the shuttle that take you through the Zion Scenic Drive, a trip to Zion National Park can’t be complete without experiencing the amazing hiking. Zion is spectacular from the shuttle bus, you definitely need to see it from one of the many hiking trails.


The trails vary in difficulty, from a paved, level walk along the river, to a straight-up hike that climbs up almost 1,500 feet.
Some of these hikes even have sheer drops on either side!


Our choice of trails and hikes was kind of limited owing to many closures or unsafe conditions at some of Zion’s best and most trafficked trails. Given what was open, we chose to do the Emerald Pools Trail and the Riverside Walk up to the Narrows. We could not however hike the Narrows since there was water contamination at the time we went. We’d love to come back in the future!
Utah National Parks Road Trip Itinerary + Colorado, Arizona, New Mexico – Day 8
TO DO – WIREPASS TRAIL TO BUCKSKIN GULCH, UT + LAKE POWELL + HORSESHOE BEND, AZ
DRIVE 1 – WHEEL INN RV PARK, FREDONIA TO WIREPASS TRAILHEAD, UT
DISTANCE/DRIVE TIME – 53.9 MILES / 1.5 HOURS
DRIVE 2 – WIREPASS TRAIL, UT TO LAKE POWELL, AZ
DISTANCE/DRIVE TIME – 41.4 MILES / 1 HOUR
DRIVE 3 – LAKE POWELL TO HORSESHOE BEND, AZ
DISTANCE / DRIVE TIME – 5.4 MILES / 10 MINUTES
STAY – HOTEL IN PAGE, AZ
STAY COST – $40 APPROX
Being in Arizona, we really wanted to visit the Antelope Canyon on this trip. Unfortunately, the Navajo Nation where the Antelope Canyon is located was closed due to COVID restrictions (for good reason). But that didn’t stop us from finding a slot canyon to hike through. We couldn’t experience the Antelope Canyon but we found the next best thing, thanks to our neighbors at the RV park. They had hiked the Wirepass Trailhead to Buckskin Gulch Slot Canyon near Kanab, UT and were totally convinced that it was better than Antelope Canyon and we’d love it. So we decided to check it out.


Wirepass Trail to Buckskin Gulch is about an hour from Page, AZ. It was a task to get through, having to drive 8 miles off road but wow it was worth it! It would seem that a 4WD vehicle is needed to get to the trailhead, but we made it (very nervously and things falling off, drawers opening) in our RV.
Since not many people are aware of this slot canyon, it wasn’t crowded unlike the Antelope Canyon where I’ve heard you have to literally rush through because you’re part of a tour and it’s super trafficked. And this hike is free! We just had to pay $6 cash for parking.


At Wirepass, we hiked 1.7 miles on a river bed until the trail met Buckskin Gulch’s miles and miles of canyons we hiked through. You could walk as little as 4 miles to 16+ miles on this hike! This trail is a DREAM. Every corner you turn is more unbelievable. I tried to take pics to capture it, but there’s just no comparison to experiencing it. Wire Pass is an absolute must if you’re anywhere close to Utah/Arizona.
This hike was definitely one of the highlights of our entire RV trip.
With that, we bid goodbye to Utah and headed to our next destination – Arizona.
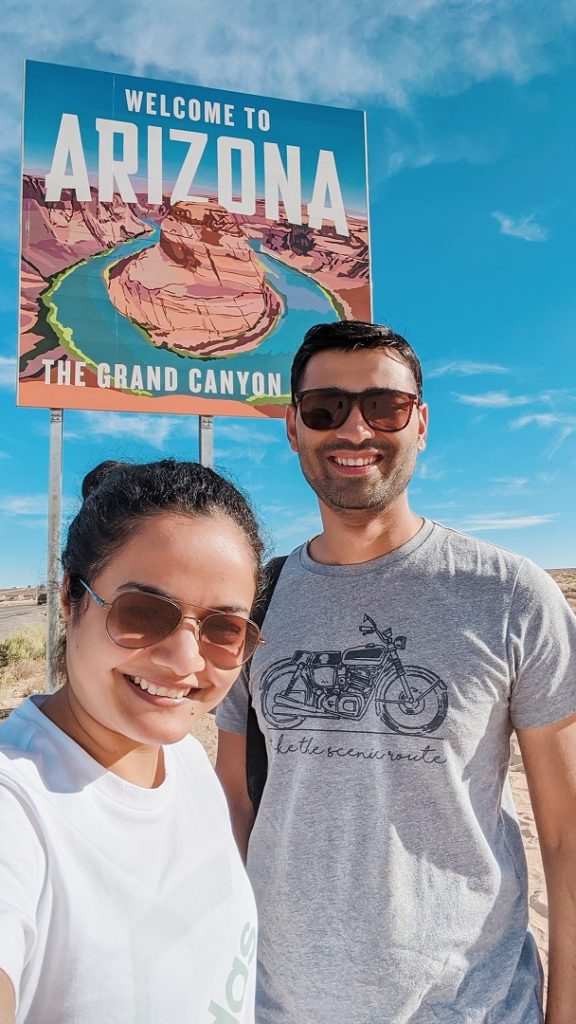
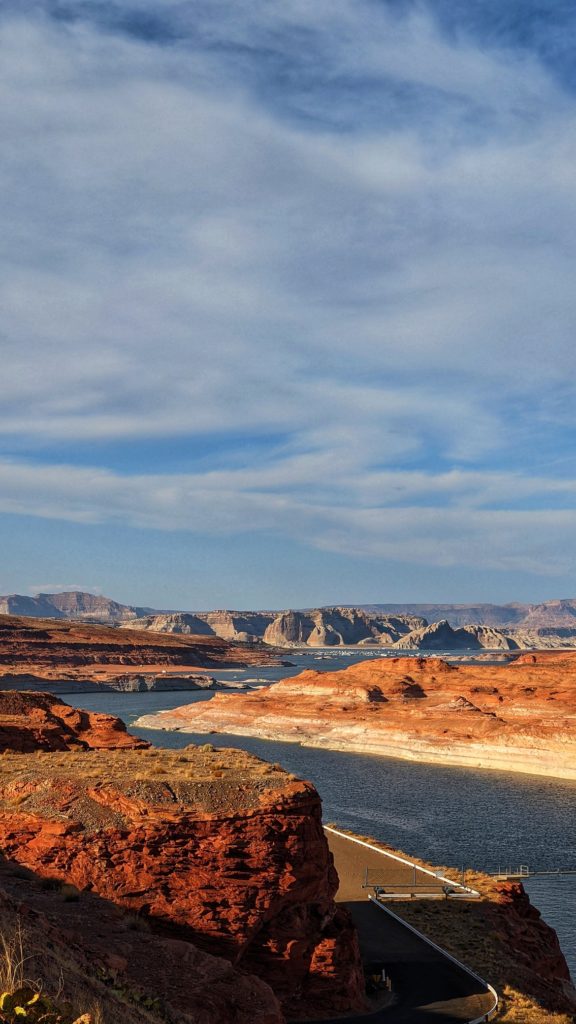
We were super excited to be able to see Horseshoe Bend finally. Before that we made our lunch pit stop at Lake Powell.
It was finally time for Horseshoe Bend. Horseshoe Bend is just a short 15 minute drive from Page Arizona. Google Maps has the location of Horseshoe Bend accurately labeled so it was easy to navigate there.
We happened to reach Horseshoe Bend perfectly in time for the sunset. Sunset and sunrise are both great times to visit if you want some amazing pictures. But it was super crowded during sunset, so I’d suggest going during sunrise instead.
Hiking to Horseshoe Bend from the parking lot is super easy. It’s not really a hike but more of a walk. The trail from the parking lot is only about .6 miles so 1.2 miles round trip. The hardest part of the whole hike is the first part where you have to go up a huge hill from the parking lot.
The rest of the hike was easy.
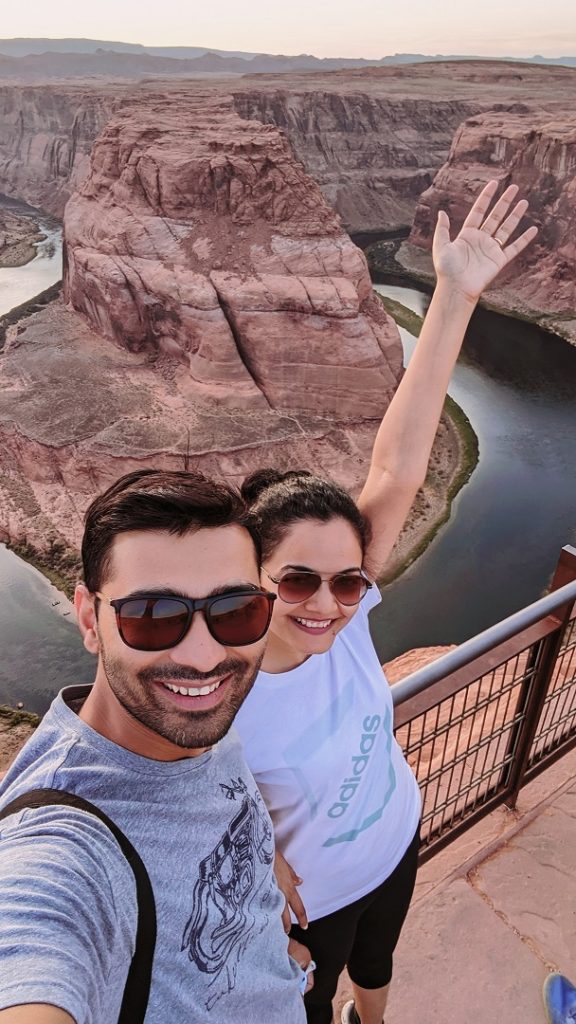
We went during sunset and in October, so it wasn’t that hot. We didn’t really need the water we had brought with us.
However, if you are doing the hike in the middle of the day or during summer, you should probably bring water and sun protection. Right before you start the trail there are huge signs warning against heat exhaustion here.


Just how crowded was it at Horseshoe Bend? It was impossibly crowded and I don’t think anyone talks about how crowded it is.
There’s literally people hanging off every edge.
All those Instagram pictures of girls perching on the edge by themselves, enjoying the view, so not the case. Also, it’s not really that easy to look down without practically hanging off the edge. With a fear of heights, I literally took a glance and stepped back. If you want to enjoy a peaceful moment alone here I would come at sunrise.
All in all, I would say this was more of a bucket list item checked off our list.
This night we stayed in a hotel in Page, AZ (our RV did not have enough water). We heated our dinner in the RV and ate in our hotel room. I have to say though, having a nice long shower in the hotel felt great. 🙂
Utah National Parks Road Trip Itinerary + Colorado, Arizona, New Mexico – Day 9
TO DO – GRAND CANYON NATIONAL PARK, AZ
DRIVE 1 – PAGE, AZ TO GRAND CANYON SOUTH RIM
DISTANCE/DRIVE TIME – 217 MILES / 3.5 HOURS
DRIVE 2 – GRAND CANYON SOUTH RIM TO KAIBAB NATIONAL FOREST DISPERSED CAMPING
DISTANCE/DRIVE TIME – 10.5 MILES / 15 MINUTES
RV PARK – KAIBAB NATIONAL FOREST DISPERSED CAMPING
RV PARK COST – FREE
When you talk about National Parks in the United States, there is no way you can skip the Grand Canyon National Park in Arizona.
For millions of years, the Colorado River has carved its way through the Colorado Plateau, forming this expansive, awe-inspiring landscape that we call the Grand Canyon. And it certainly is grand.
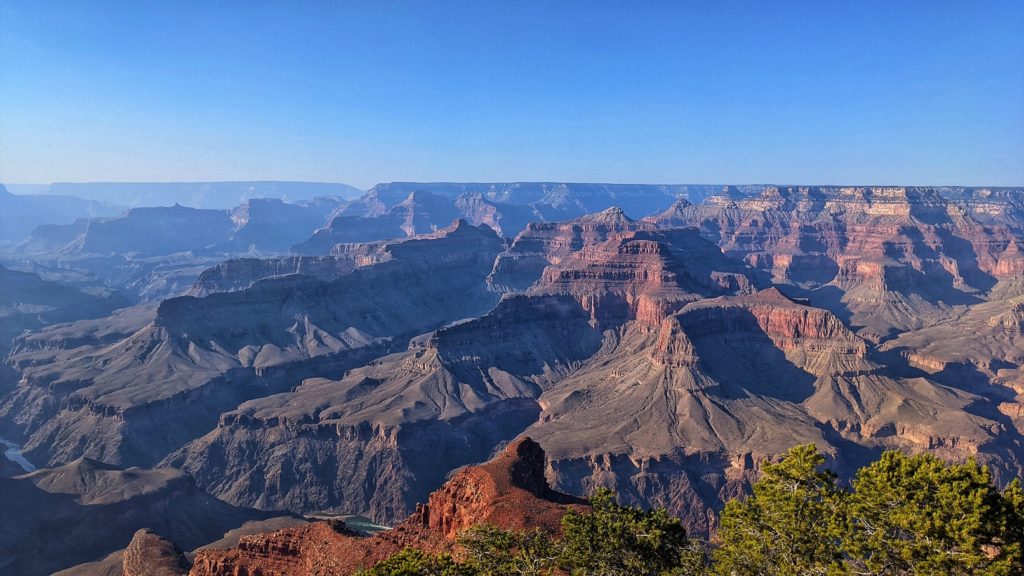
On a visit to the Grand Canyon, there is more to do than just look out over the canyon from the Visitor Center. Walk along the rim, catch the sunrise, take a helicopter flight, tour the viewpoints by bicycle, or hike below the rim – there’s something for everyone.
The South Rim of the Grand Canyon is the most accessible and most popular section of the canyon to visit. So that’s what we decided to explore.
We parked our RV at the Visitor Center parking and walked the entire South Rim. I think I know why the Grand Canyon is so popular among tourists within and outside the United States. This is one National Park where you can experience the most amazing, larger than life landscape without even hiking.

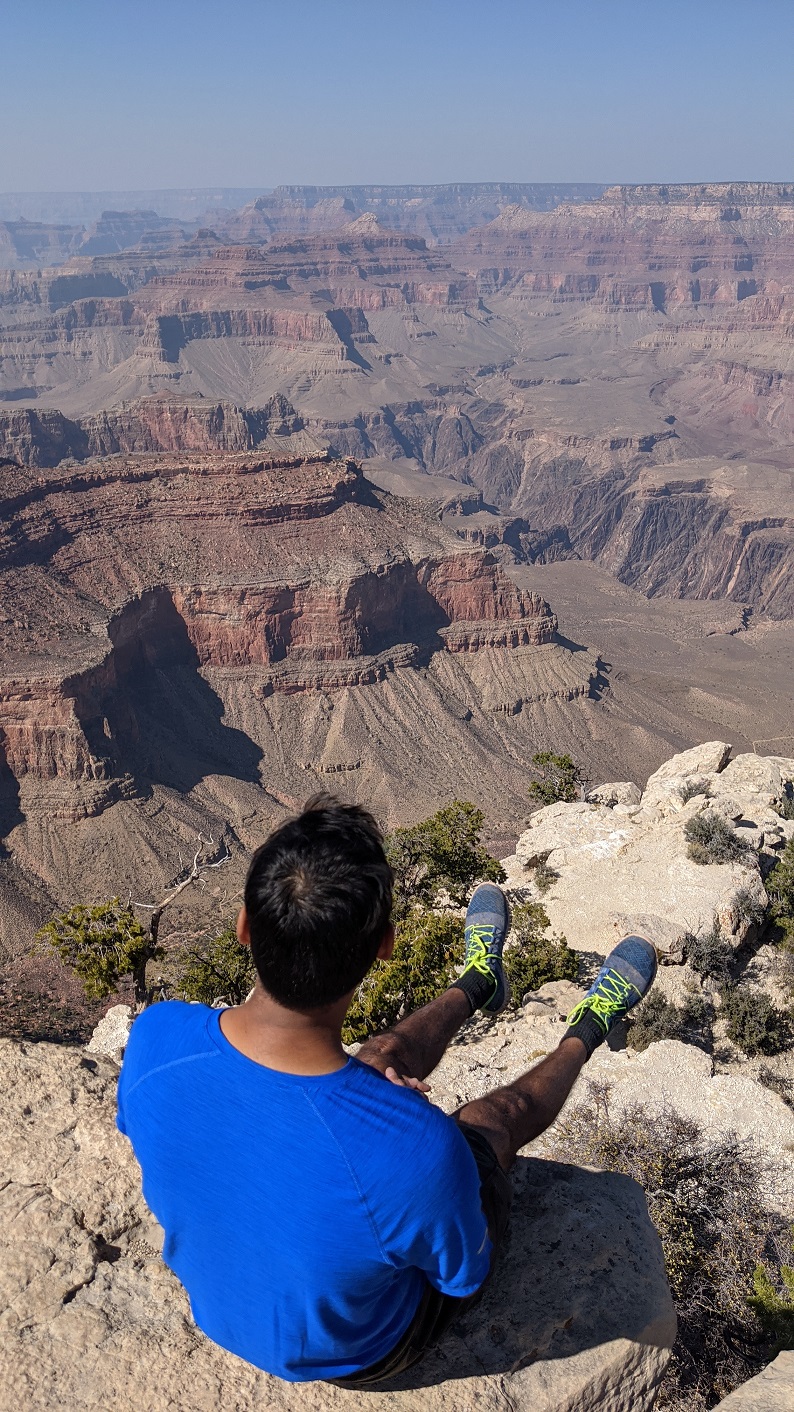
There are dozens of viewpoints along the South Rim of the Grand Canyon. Each of these viewpoints offers a spectacular view, some better than others. Some offer panoramic vistas, some are less crowded, and some make perfect spots to catch a sunrise or sunset.

There are three sections to the South Rim of the Grand Canyon: Desert View Road, Grand Canyon Village and the Hermit Road.
When we visited, the Desert View Road was closed. So, we explored the Grand Canyon Village and hopped on the shuttle to see all the viewpoints along the Hermit Road.
Fun fact: The Grand Canyon is the second most visited National Park in the United States. The first is Great Smoky Mountains National Park.
This evening we boondocked right outside the Grand Canyon National Park, in the Kaibab National Forest so we could come back to the South Rim bright and early to catch the sunrise.
Utah National Parks Road Trip Itinerary + Colorado, Arizona, New Mexico – Day 10
TO DO – GRAND CANYON SUNRISE + WALNUT CANYON NATIONAL MONUMENT + PETRIFIED FOREST NATIONAL PARK
DRIVE 1 – KAIBAB NATIONAL FOREST CAMPING TO GRAND CANYON SOUTH RIM
DISTANCE/DRIVE TIME – 10.5 MILES / 15 MINUTES
DRIVE 2 – GRAND CANYON SOUTH RIM TO WALNUT CANYON NATIONAL MONUMENT
DISTANCE/DRIVE TIME – 230 MILES / 3.5 HOURS
DRIVE 3 – WALNUT CANYON TO PETRIFIED FOREST NATIONAL PARK, AZ
DISTANCE/DRIVE TIME – 69 MILES / 1.15 HOURS
DRIVE 4 – PETRIFIED FOREST NATIONAL PARK, AZ TO GALLUP, NM
DISTANCE/DRIVE TIME – 68.6 MILES / 1 HOUR
RV PARK – USA RV PARK, GALLUP, NM
RV PARK COST – $42 APPROX / PER NIGHT
We reached the Grand Canyon South Rim at 4 am to catch the sunrise over the Canyon, lighting it up in warm hues of reds, pinks and oranges.
This is something I would definitely recommend doing. While it may be difficult to roll out of bed that early, you’ll share the view with just a handful of other visitors. It was surreal.


Feeling satisfied, we headed on to our next destination – Petrified Forest National Park.
But what is a road trip without any impromptu stops?! On our way to Petrified Forest National Park, we stumbled upon a hidden gem – The Walnut Canyon National Monument.
Just outside Flagstaff’s city limits, Walnut Canyon National Monument is a gorgeous display of geological cliff formations with curved limestone walls and ledges filled with a diverse ecosystem. Carved by Walnut Creek over about 60 million years, the canyon offers an amazing combination of stunning scenery and varied animal and plant life.
It also offered a great place to live for the ancient people of the high desert. As gorgeous as the natural scenery of the canyon is, its most interesting features are the cliff dwellings built into the alcoves of the steep canyon walls.


Walnut Canyon National Monument preserves these cliff dwellings, along with the unusual ecosystem of the canyon, making it a must-see for anyone visiting northern Arizona.
Tip: Don’t forget to take water because you’ll be tackling 240 steps into the depths of the Canyon and back up.
Our final destination in Arizona was the Petrified Forest National Park.
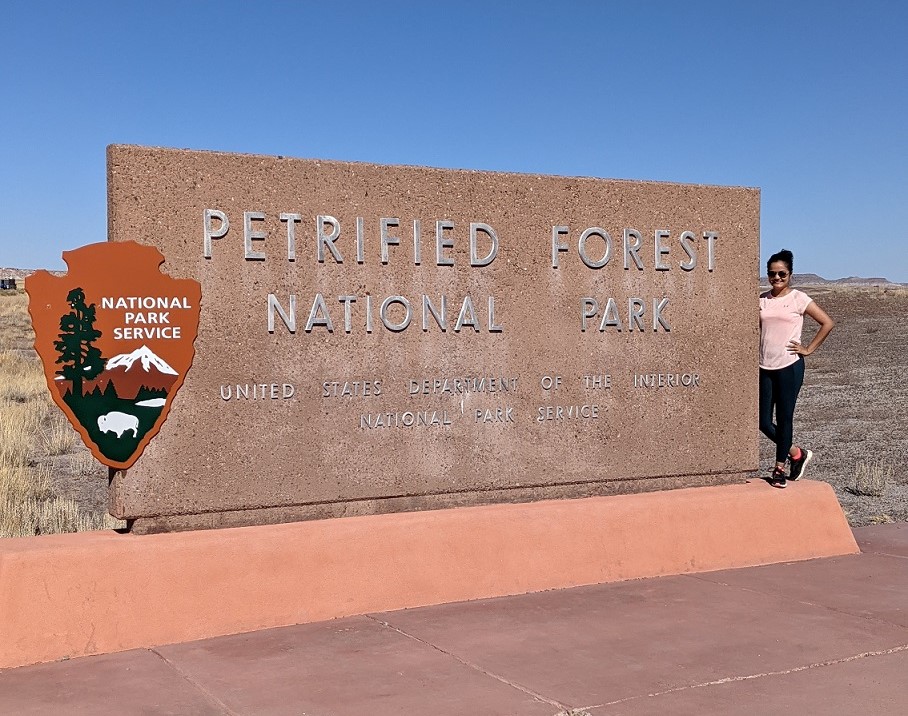
Let me be upfront with you. Petrified Forest National Park is not everyone’s cup of tea. This National Park is not all that popular and you’ll know why when you visit. The scenery isn’t the best, and the whole park can be done in a few hours. But, it is definitely unique.
Petrified Forest is a great place to learn about history and science, but as I said, this is no Grand Canyon.
Petrified Forest National Park was one of the easiest parks to get through. You can usually complete the whole park within a few hours. Also, all the attractions are located on the main petrified forest road.
We saw one of the world’s largest and most vibrantly colored assemblies of petrified wood, historic structures, and archaeological sites.


It was difficult to believe that more than 200 million years ago, flourishing trees and vegetation covered much of this area of Northeastern Arizona. But volcanic lava destroyed the forest, and the remains were embedded into sediment comprised of volcanic ash and water. Erosion set the logs free millions of years later, revealing the petrified wood – made mostly of quartz.


But there’s more than wood to the Petrified Forest’s history. You can see remnants of more than 13,000 years of human history at the park, including Puerco Pueblo – a nearly 800-year-old, 100-room dwelling, a diverse, extensive collection of prehistoric pottery fossils and even a protected section of historic Route 66.
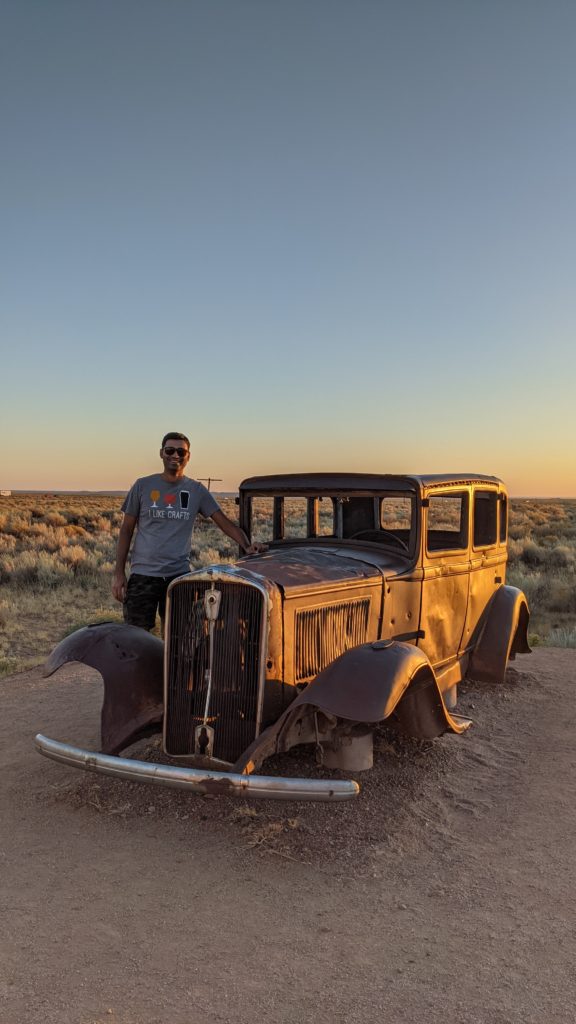
All in all, Petrified Forest is a national park that I feel like is worth to add to your itinerary only if you are already on highway 40 or like me, you’re obsessed with US National Parks and want to visit each one of them.
Utah National Parks Road Trip Itinerary + Colorado, Arizona, New Mexico – Day 11
TO DO – WHITE SANDS NATIONAL PARK, NM
DRIVE 1 – GALLUP, NM TO WHITE SANDS NATIONAL PARK, NM
DISTANCE/DRIVE TIME – 347 MILES / 5 HOURS
DRIVE 2 – WHITE SANDS TO LINCOLN FOREST NATIONAL PARK, NM
DISTANCE/DRIVE TIME – 53.7 MILES / 1 HOUR
RV PARK – THE CAMP AT CLOUDCROFT RV PARK AND CAMPGROUND
RV PARK COST – $50 APPROX / NIGHT
Want to travel somewhere that is incredibly peaceful, not filled with tourists and reminds you of how UNBELIEVABLE our world is?! White Sands National Park is that place!
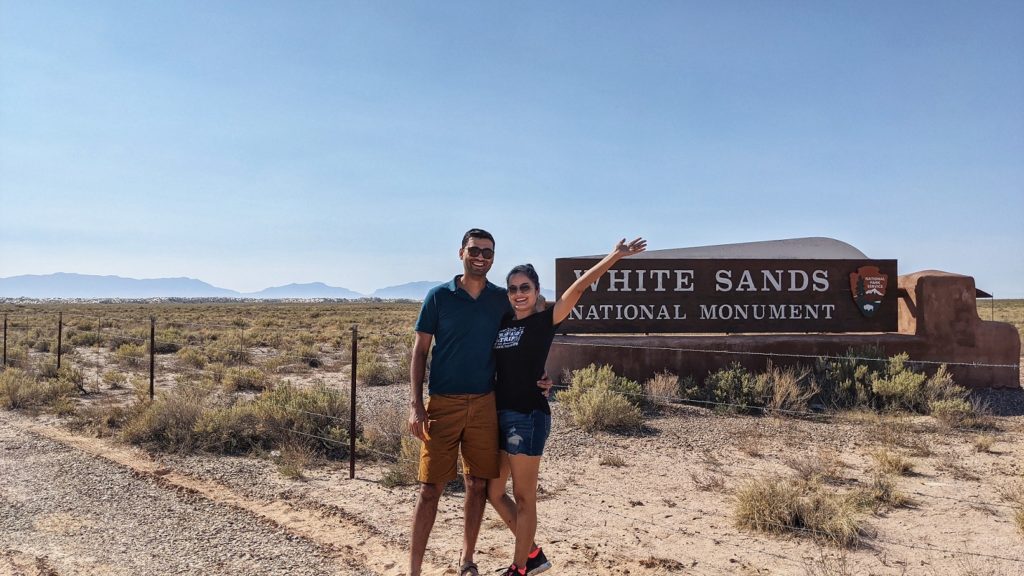
We’d been to New Mexico before but not to the White Sands National Park. Did you know this is America’s newest National Park?It’s such a unique place in the American landscape that it’s absolutely deserved to become a National Park.
White Sands National Park is about an hour outside of Las Cruces, New Mexico, and mostly surrounded by Holloman Air Force Base and the White Sands Missile Testing Grounds.
It’s the world’s largest gypsum dune field!
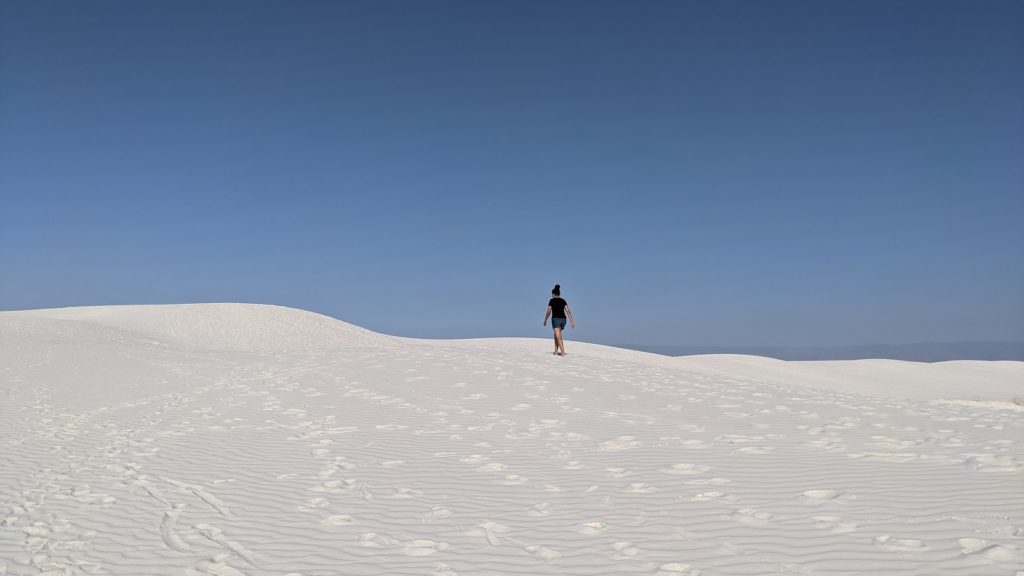
Even if you’ve visited other sand dunes before, I guarantee White Sands will be different. Unlike typical silica sand, gypsum feels cold and sticky no matter what the temperature is outside. It’s also bright white and from a distance can look more like snow – I can’t stress that enough, though you can probably tell from the photos. Wear your sunglasses, folks!


Because it’s sticker than silica sand, it does get packed hard in some places. You’ll notice this on much of Dunes Drive and also at the bottom of the big dunes (especially if you take a tumble when sledding!).
We did the Dunes Drive which is a 45 minutes roundtrip drive through one of America’s smallest National Parks.
White Sands sledding is the big draw for most visitors and you won’t want to miss it! You can buy the sled and wax from the Visitor Center. We couldn’t get one so V tried to do some sledding using a frisbee. 😀


Something we wanted to but didn’t get to due because of timing was stick around the park for a sunset stroll with a park ranger. We’ve heard that sunset in White Sands National Park is amazing! The daily schedule is available here.
This was the final evening of our USA RV road trip before we headed home the next morning. We drove through the beautiful Lincoln National Forest and booked ourselves into a lovely RV park. Rest of the evening was spent by the campfire, stargazing with beer, pizza and talking about the days past.
Utah National Parks Road Trip Itinerary + Colorado, Arizona, New Mexico – Day 12
TO DO – DRIVE BACK TO DALLAS
DISTANCE/DRIVE TIME – 545 MILES / 8.5 HOURS
We reached home super tired after a full day of driving but also super happy with how epic this road trip turned out to be. There could not have been a better way to do this road trip than in an RV.
We can’t wait for our next RV trip, exploring other US National Parks.
If you’d like to see day by day updates from this RV trip, do check out my Instagram story highlights – RV Trip.
Are you on Pinterest? Pin this post to save for later!
